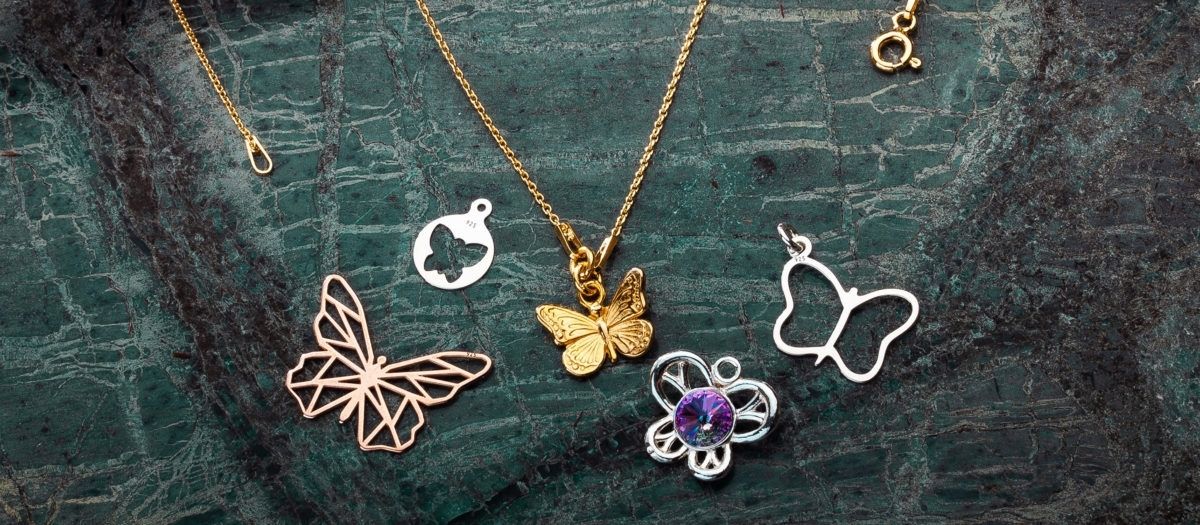
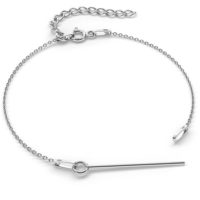
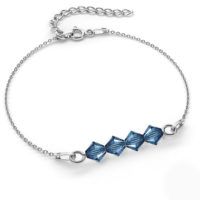
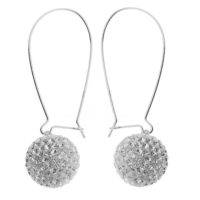
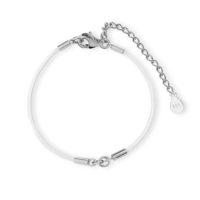
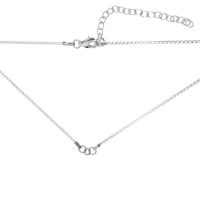
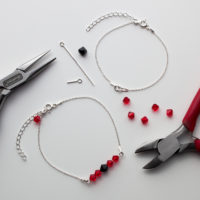
Silver jewelry perfect for spring!
May 28, 2020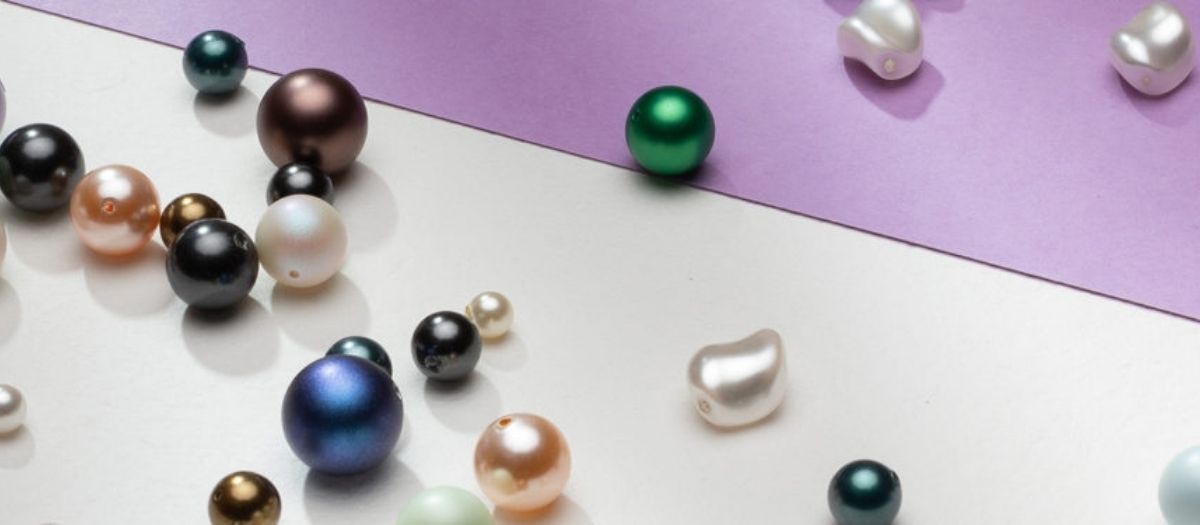
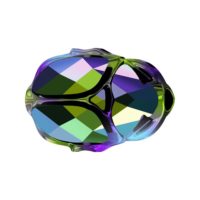
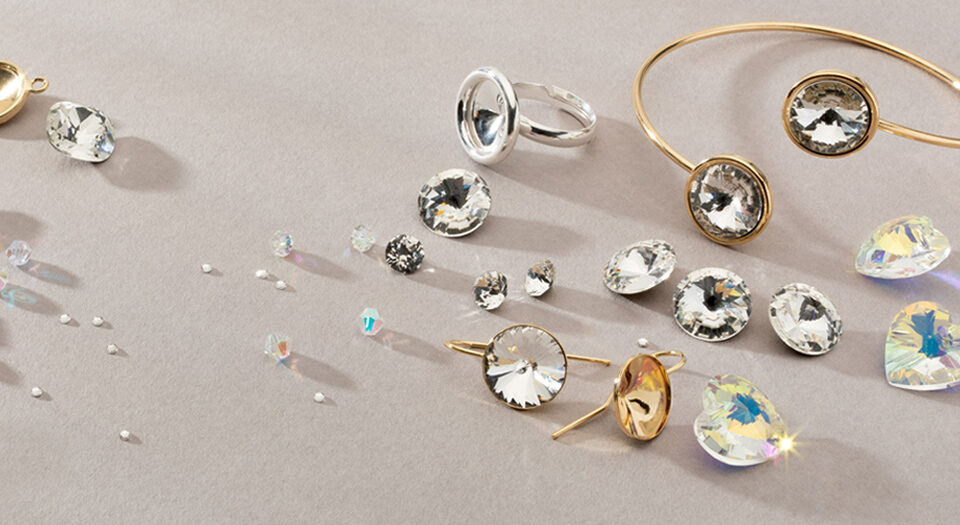
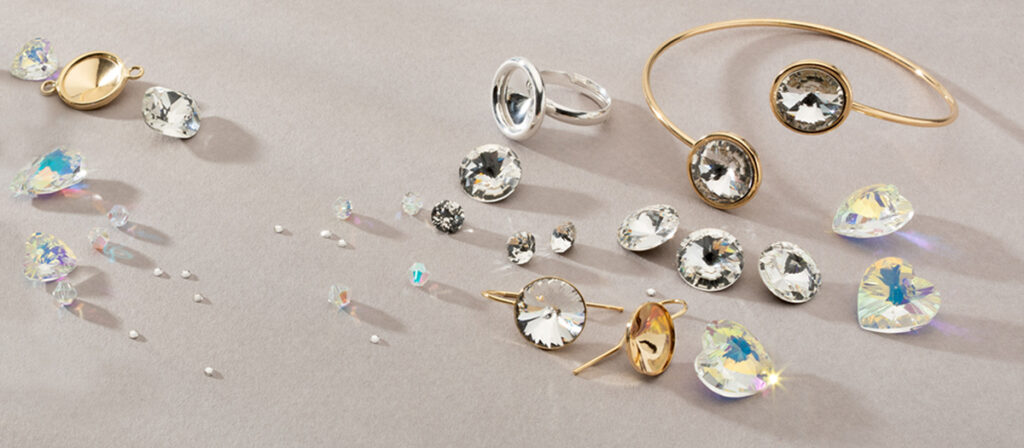
Swarovski pearls – beauty, durability and innovation
September 7, 2020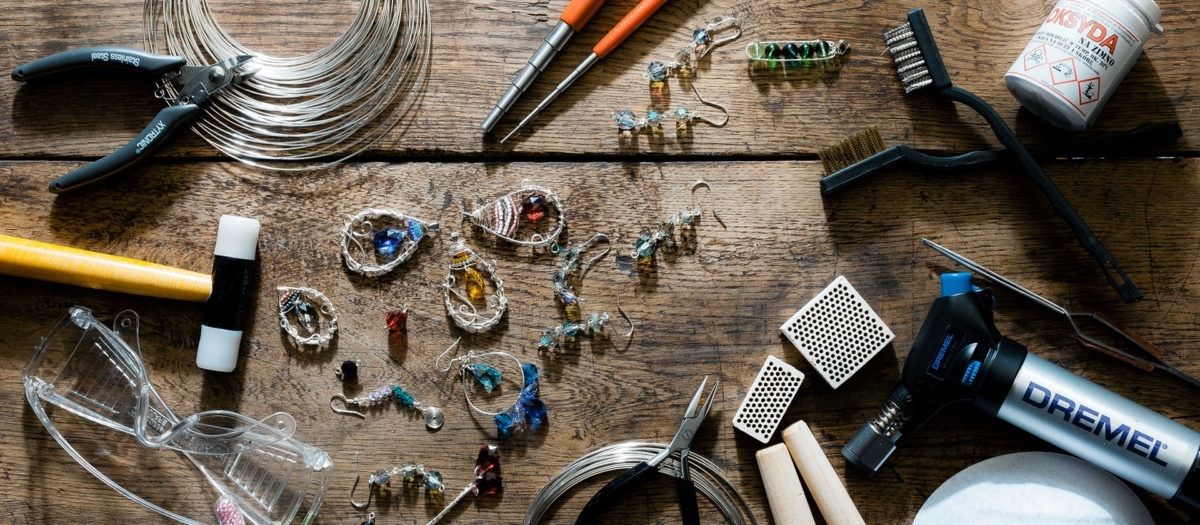
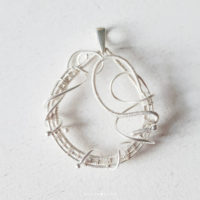
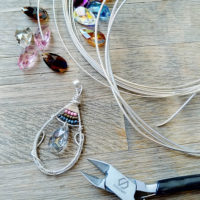
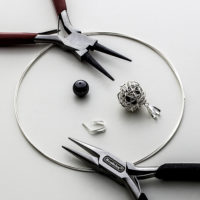
Wire wrapping is one of the oldest methods of handmade jewelry. Examples of wire jewelry come from thousands of years BC. As history shows, wire jewelry has survived because it is the only known metal jewelry that can be made by hand, without the need for soldering or casting. For this reason, wire wrapping art was popular among ancient civilizations, because it did not need fire, electricity, or other modern technologies. What’s more, wire wrapping techniques has survived and to this day has not found application in the mass production of jewelry, because the machines are not able to form elements from wires faster, cheaper and more accurately. Handmade wire wrapped jewelry is made by wrapping thicker wires with thinner and combining them with other silver jewelry findings, stones, pearls or other decorations to create unique jewelry. Thanks to the precision and three-dimensional imagination, you can get intricate weaves and original forms that are impossible to achieve in machine production. In addition, wire wrapping jewellery is made by using mechanical connections between the elements, thus eliminating the need for soldering or other thermal treatments. Wrapping one wire with another makes silver jewelry more durable and precious. Thanks to the wire wrapping jewelry techniques, you can create practically any jewelry shape you want, from delicate intricate weaves to heavy and massive compositions. The main material in this technique is silver wire.
Types of silver wires
1. Silver fineness is responsible for the purity of the silver alloy and is denoted in grams or percentages. Among silver wires, the most popular are 925 and 999. The fineness 925 means that in 1000 g of alloy — pure silver is 925 g. This measure is synonymous with the note that the alloy contains 92.5% pure silver, and the remaining 7.5% are mixture of other metals. The purpose of adding other metals is to harden the alloy because fine silver (pure silver) would be too soft and flexible to make jewelry. The exception is 999 silver wire, which means that 1000 g of alloy, contains 999 g of pure silver. However, such soft silver wire 999 is used only to decorate jewelry, not to make it, because silver jewelry made from 999 silver alloy it would easily be distorted. An interesting fact is that the 999 silver should be defined as the 1000 fineness, but 0.001 g is cautiously taken for unavoidable impurities, because it is not possible to obtain fully pure metal in any production process. In Poland, the most common silver admixtures are copper, zinc and cadmium. In other countries also germanium, platinum, silicon and boron.
It is worth remembering that the wires are made of silver, which changes color due to external factors such as: polluted air, humidity, contact with cosmetics or detergents, so it is important to store them properly, preferably in dry rooms and in addition sealed containers or string bags.
Wire wrapping how to start?
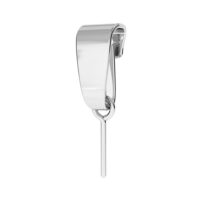
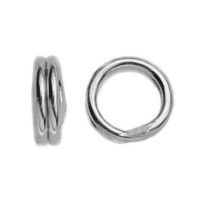
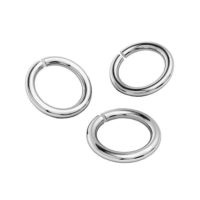
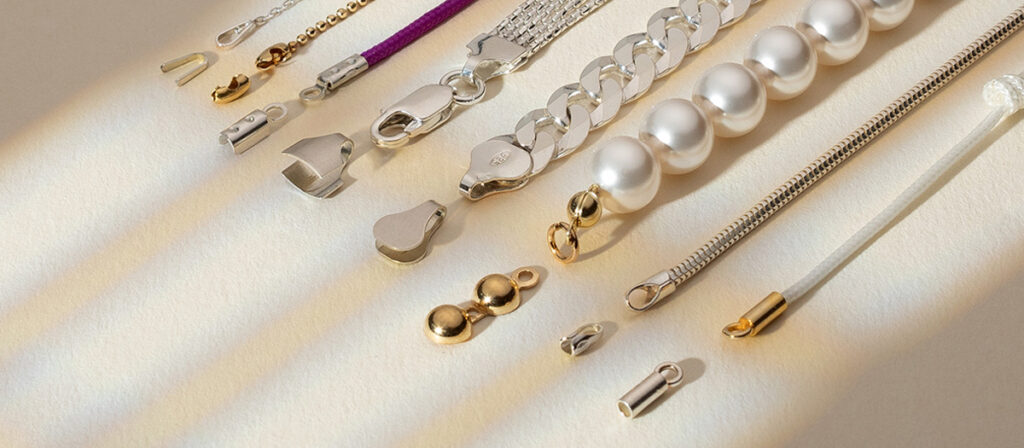
– silver jewelry components such as: bails, head pins, jump rings, ear wires — you can make most of them yourself (tips below),
– chains or bases for necklaces and bracelets,
– crystals, pearls, rhinestones or other stones,
– side cutter for precise cutting of wires,
– a hammer, with a leather, teflon, rubber or acrylic tip, never steel — which may damage the metal surface,
[slider_produkt title="" category="drruut " orderby="menu_order" order="ASC"]
Which wire for wire wrapping?
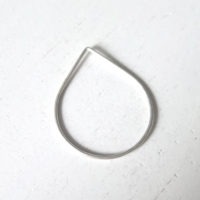
– 925 silver wire, 1 mm in diameter — about 10 cm long, to form the main base (internal teardrop),
– 999 silver wire with a diameter of 0.8 mm — about 40 cm long, to create a middle and external base,
– 999 silver wire with a diameter of 0.25 mm — about 2 m in length, for wrapping and connecting all three bases together,
– 999 silver wire with a diameter of 0.4 mm — about 6 cm long, for hanging crystal, pearl or other stone,
– Swarovski crystal in the shape of almond or GAVBARI pendant,
How to wire wrapping?
2. Then the ends of the wires from the middle and outer base (999 with a diameter of 0.8 mm) are gently heated and melted with fire from a burner or lighter to form decorative balls.
3. In next step, we create decorative swirls around the main base from the long wires (999 with a diameter of 0.8 mm).
5. Mount the bail.
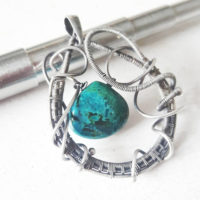
6. If you want to achieve the effect of silver aging, we recommend oxidation process. For this purpose, sink finished silver pendant in oxidizing solution, which causes blackening silver and gives the precious look of jewelry. Oxide is often used in the jewelry wire wrapping, because it extracts all the beauty of jewelry and emphasizes artistic silver weaves and wraps. Apart from visual advantages, oxidation also plays the role of protection and also makes jewelry more durable and resistant to external factors. After oxidations, use a polishing cloth to get rid of excess oxide and polish until you get the desired results. During oxidation, we recommend wearing safety gloves and glasses.
Our diy pendant is ready to hang on a silver chain making a silver necklace for women, but we can also use it for diy earrings. However, at the beginning we do not recommend making earrings, because in addition to making two pieces, they need to be symmetrical.

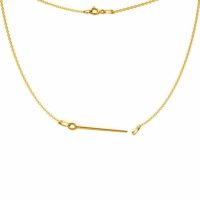
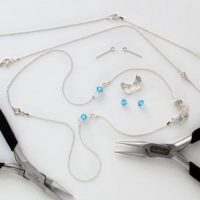
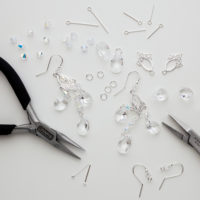
Wire jewelry — how to make wired jewelry
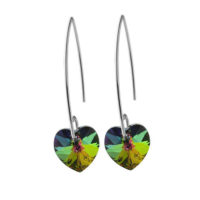
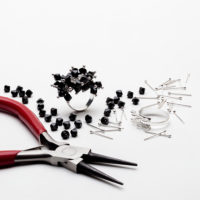
In addition to the wire wrapping ideas, which involves the intricate wrapping and joining of thicker and thinner wires, you can also use jewelry wire to create jewelry semi finished products yourself. Examples include silver pins, ear wires, jump rings, chain extensions, as well as various clasps for bracelets and necklaces. In addition to sterling silver jewelry findings silver wire gives the opportunity to create handmade jewelry such as: earrings, pendants, rings, bracelets, necklaces, brooches, cuff links and even wedding combs.
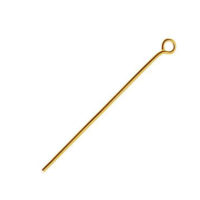
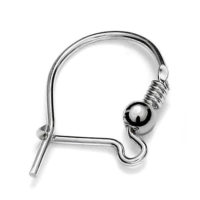
One of the simplest elements created with the use of wires is a silver pin, which we insert into beads and close with loops, blocking the bead and protecting it from slipping.
For this purpose, we create a P-shaped loop with round pliers — this is an option for beginners and is based on bending the wire into loop, until it touches the wire again.
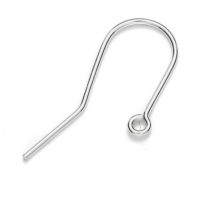
An option for the more advanced is the eye loop, with a full circle of wire centered over the stem of wire (like a lollipop). For this purpose, use flat-nose pliers and bend the jewelry wire at 90 degrees angle to one side (about 1 cm from the end of the wire), and then use round pliers to form a circle in the opposite direction than we bent the wire at the beginning.
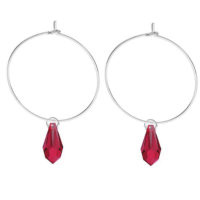
Both loops are open, which means they are available to open mechanically, best by using flat-nose pliers, so we can connect them with ear wires — making silver earrings, with a bail — making a silver necklace, or with other connectors or beads — making, for example, crystal lariat necklace. After connecting with other components close the loop — also with flat-nose pliers.
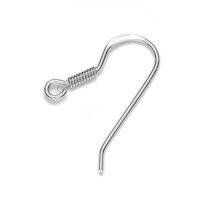
When making heavy jewelry or silver dangle earrings, when is a risk of the loop opening, it is worth creating a closed loop. In this case the end of the wire is wrapped around the stem of the loop three or four times, making the loop permanent, its called wrapped loop. However, in this case, wrap the wire only after combining it with another piece of jewelry. The exception is when the attachment has an open loop. To create silver head pins with loops, best is 925 silver wire with a diameter of 0.5 mm, 0.6 mm and 0.7 mm. It is worth adding, that regardless of the fineness and size of wires, all silver wires for jewelry have their durability, so the more we bend and tire them, the risk of breaking it increases.
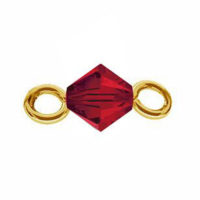
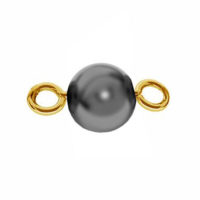
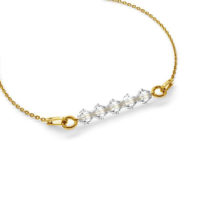
Pins with a loop can also be used as connectors for bracelets, on which we thread GAVBARI: gemstone beads, crystal beads or Swarovski: bicone, scarab bead, other crystals, as well as GAVBARI cultured pearls, Swarovski pearls or other decorations.

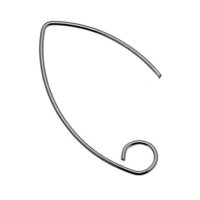
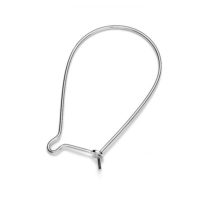
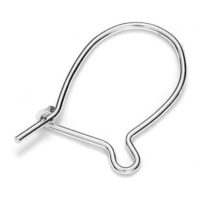
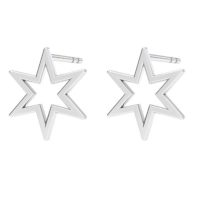
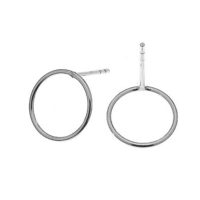
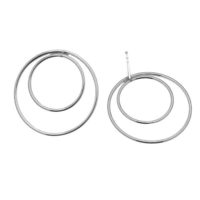
Earring bases are other elements we can create with wires. Below are some examples for beginners, without the need of soldering. For this type of element, 925 sterling silver wires with a diameter of about 1 mm work best. To create some shapes, in addition to flat and round nose pliers, you could get tools that help you form arcs or circles. In this case, wire wrapping mandrel set of various sizes and a hammer may come in handy, of course not steel, but finished with leather, teflon, rubber or acrylic.
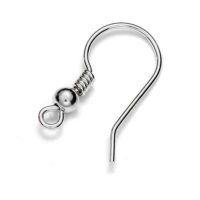


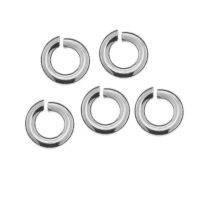

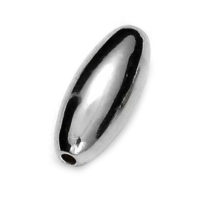
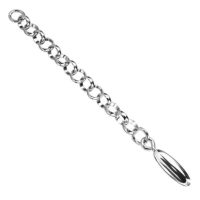
We use ready-made jump rings mainly for connecting elements, but you can also easily and quickly use them to create an extension for bracelets and necklaces, thanks to which your jewelry will become universal. For chain extensions, connect jump rings with each other and end with a decorative silver ball, oval ball, crystal, other pendant or end cap for engraving.

Silver wire for jewelry can also be used for wrapping stones, creating weaves ended with loop — playing a role of bail for pendants, necklaces or earrings. When wire wrapping diy, it is important to carefully hide ends of wire to avoid injury or getting caught on the fabric.
For more advanced, silver wire can also be used when making jewelry from epoxy resin and ceralun. For example, after filling up the silicone mold with resin, insert wires in it, which, after the resin has solidified, act as studs for the earrings, or a hook for the pendant. Find out more “How to create unique DIY jewelry with epoxy resin”.


Get inspired and make unique DIY jewelry with semi-finished 925CRAFT findings:


Soldering — what is it?
Soldering – what we need?
– a glass bowl with water for rinsing the soldered element,
– tweezers, preferably with a wooden handle, so as not to burn your fingers,
– solder – silver with admixtures, thanks to which it reaches a lower melting temperature than silver. Solder is used not only to connect elements, but also to fill and repair jewelry.
– soldering liquid or abdeck. In the case of a soldering liquid, we usually only put a bit on the connection point. It should be applied every time, even when we add more solder or improve bonding, because during heating and cooling, the solder layer is removed. If you use abdeck, sink the whole element in it and set it on fire. When the fire disappears, proceed to soldering. Unlike soldering liquid, abdeck protects metal against oxidation, thanks to which its surface looks better than after using soldering liquid. Thanks to the use of soldering liquid, solder melts on the metal and solidifies in the place that we will heat the most – the place of joining. If we forget to use a solder liquid, the solder will not stick to the surface or will form a ball instead of melting and filling the joint gap.
Soldering – step by step
Silver soldering — tips
– Sometimes the solder liquid swells and throws the solder into the air, so we start with a small flame, increasing it after burning the solder liquid. This process can be alleviated by diluting the soldering liquid with water.
– Never touch the soldered element with your fingers, use tweezers that do not heat up, for example with a wooden handle.
Summary
If you have any questions, please ask in comments below. We are more than happy to help!
Do you want to find out more?
Find out more about jewellery findings: Wholesale sterling silver jewelry — 925CRAFT
Explore jewellery trends for Spring 2020: Spring 2020 jewellery trends
If you found this article valuable, we would be grateful if you like, share with others, or comment, which will be an energy booster for us to write more articles Thanks and Have a Nice Day!
Join our group of jewelry makers: https://www.facebook.com/groups/diywithsilvexcraft
 Follow us:
Instagram:
 @jewelry.findings
Facebook:
925CRAFT WorldYoutube:
DIY WITH 925CRAFTPinterest:
925CRAFTTik Tok:
925CRAFT (@925craft)Join to our group of jewelry makers: Making jewellery with 925CRAFT
