TRAINING 23: THE MOST COMMON JEWELLERY MAKING MISTAKES (AND HOW TO AVOID THEM)

INTRODUCTION

Beginner handmade jewellery makers often fall into the same technical “traps.” This online jewelry training shows you how to spot and correct mistakes before they waste your material – or the time you’ve invested in a piece. Each module ends with a short Key takeaway: one sentence worth remembering.

Jewellery Making Training Goals

  • Identify technical pitfalls – so you can recognize and name the most common beginner jeweller mistakes, from planning through final polishing.

  • Learn prevention methods – practical procedures and “best practices” that stop common mistakes before they cost time, metal, and budget.

  • Implement helpful quality control checklist – you’ll get a universal step-by-step QC routine from experts you can use on every product to steadily improve your handmade jewellery collection quality.

  • Work faster and smarter – better tool/material/workspace choices and correct techniques reduce production time and rework.

  • Increase competitiveness – fewer mistakes means better durability, cleaner aesthetics, higher perceived value, happier customers, and stronger online visibility.

This tutorial is divided into 6 modules so you can learn the most common jewellery making mistakes in a structured way.

MODULE 1: TOOLS & MATERIALS – THE FOUNDATION WITHOUT STUMBLING

Typical beginner jeweller mistakes

  • Buying the cheapest jewelry pliers, files, and torches “just to start.”

  • Mixing metals of different hardness without adjusting technique.

  • Working with unknown-grade materials (e.g., fine silver wire 999 or silver sheet with uncertain alloy/composition).

How to avoid these mistakes

  • Invest in quality early – better tools deliver repeatable results and less frustration.

  • Record material parameters before you touch it with a saw or torch: metal type, hallmark/karat, sheet thickness, wire hardness.

  • Organize your bench – compartment boxes for beads, gemstones, wires, chains by the meter, ear wires, clasps, charms, jump rings, bracelet/necklace bases, solder, and other jewelry making supplies teach discipline fast.

Key takeaway:
A good tool and verified material are 50% of success – saving money at the start costs you twice at the finish.

new techniques in jewelry making
jewellery making skills
jewellery practice

MODULE 2: SURFACE PREP BEFORE SOLDERING PROCESS

Typical mistakes before soldering

  • Solder “rejects” the joint and turns dark – because the surface was greasy.

  • Gaps are too large – solder floods the seam and creates blobs.

How to avoid them

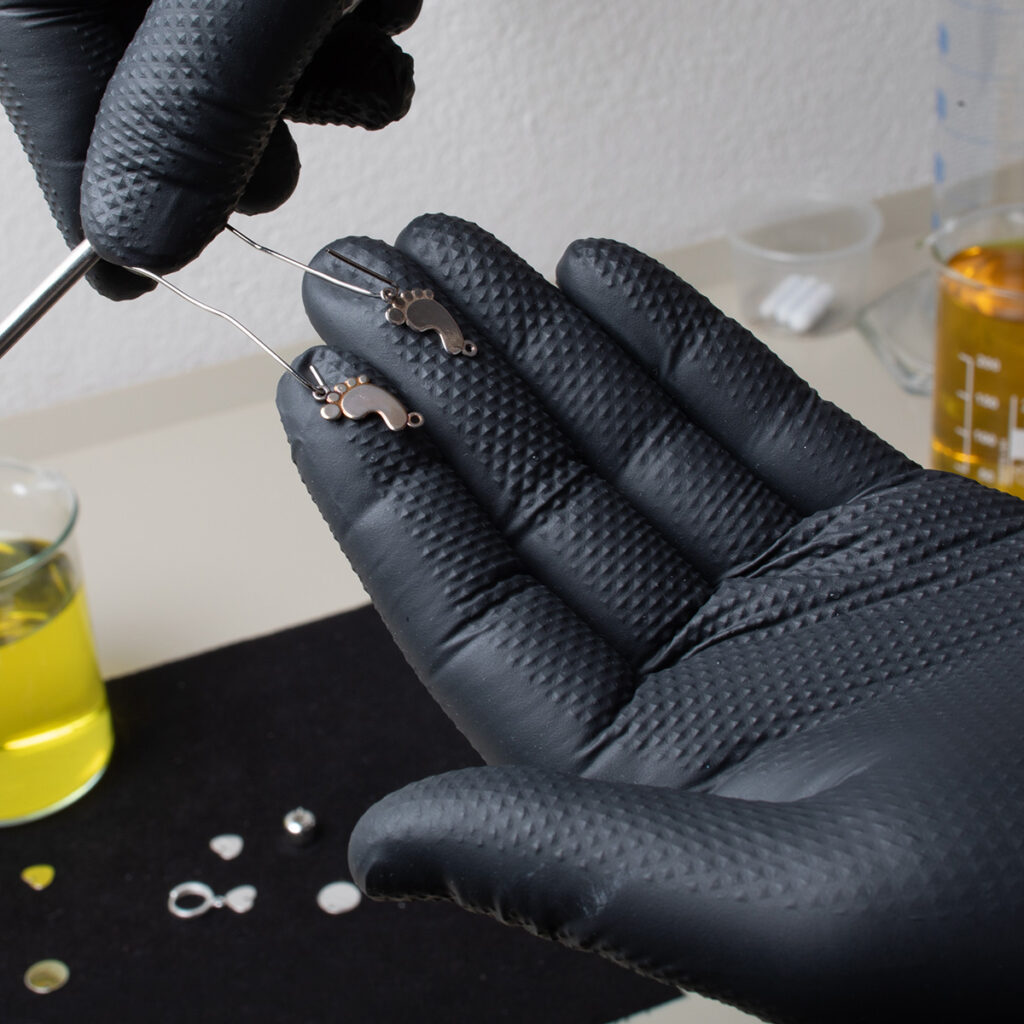
  • Degrease with alcohol or an ultrasonic bath—oil + oxides = discoloration.

  • Dry-fit tightly: gaps < 0.1 mm. The tighter the fit, the less solder you need and the less sanding later.

  • Use a thin layer of flux – too much flux creates a dirty joint.

Key takeaway:
A clean, tightly fitted surface guarantees a bright, even solder seam with minimal cleanup.

MODULE 3: SOLDERING SILVER AND GOLD

Typical soldering mistakes

  • Overheating the metal – silver becomes burnt – dull and porous (firescale risk increases).

  • Wrong solder or temperature – joints got weakened and crack on the first bend.

  • Uneven heating – solder doesn’t flow, and bumps form.

How to avoid them

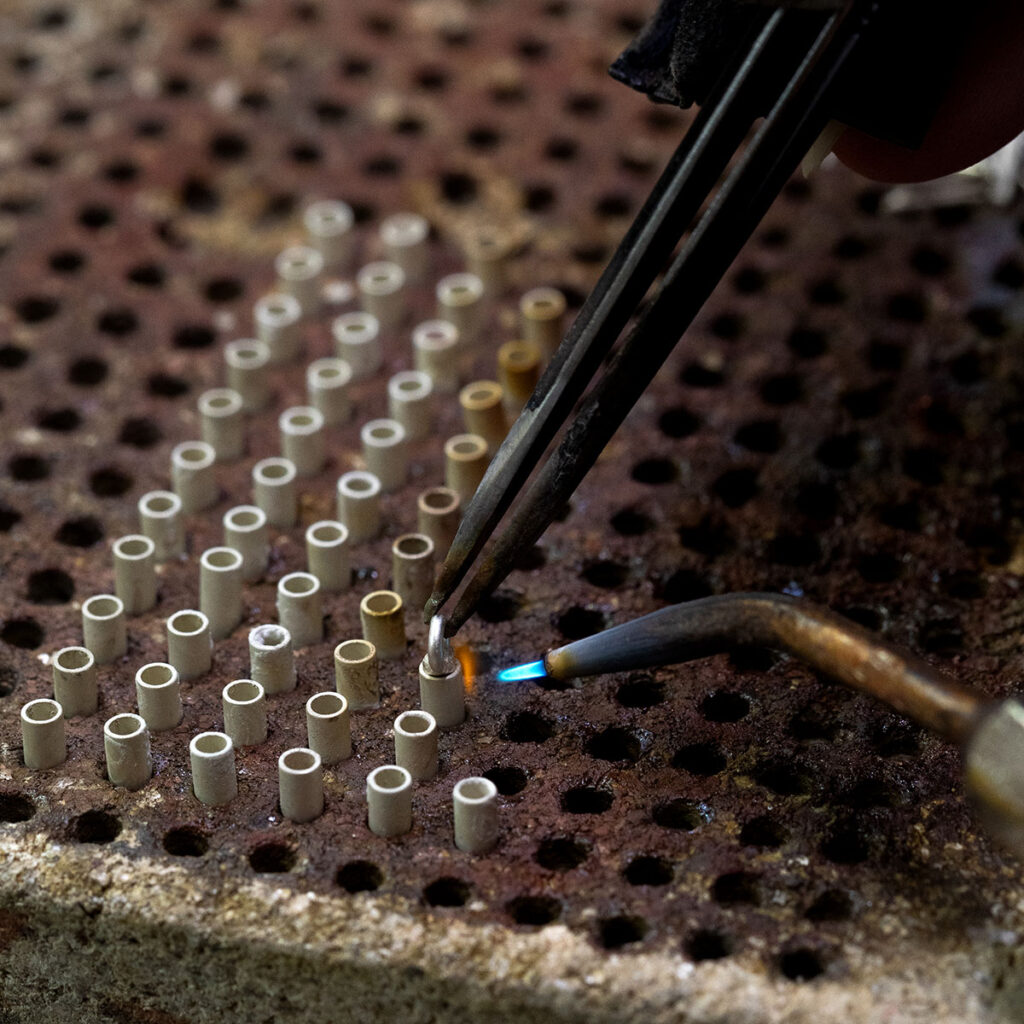
  • Control the flame – neutral or slightly reducing; avoid sitting in the sharp blue inner cone.

  • Match solder to the metal and melt range: hard / medium / easy solder.

  • Heat the whole piece – not just the seam line – so solder flows by capillary action without excess buildup.

Key takeaway:
Soldering is a triad: the right solder, the right flux, and even heat – master it and your seams become strong and nearly invisible.

MODULE 4: MECHANICAL WORK – BENDING, ANNEALING, FORMING

Typical mistakes in forming silver and gold

  • Crushing or bending jewelry wire “cold” until cracks appear.

  • Skipping annealing after heavy forging or rolling.

  • Using sheet that’s too thin – parts warp in the final polishing stage.

How to avoid them

  • Plan a “work → anneal” sequence – after every few steps of heavy deformation, restore ductility.

  • Use gauges and micrometers – check thickness before continuing.

  • Work in stages: form → level → check symmetry. Smaller corrections = fewer microcracks.

Key takeaway:
Metal stressed without annealing will take revenge – usually by cracking at the worst possible moment.

jewelry tutorials
learn making jewellery
jewellery design

MODULE 5: SANDING & POLISHING – SMALL SCRATCHES, BIG LOSSES

Typical mistakes in finishing

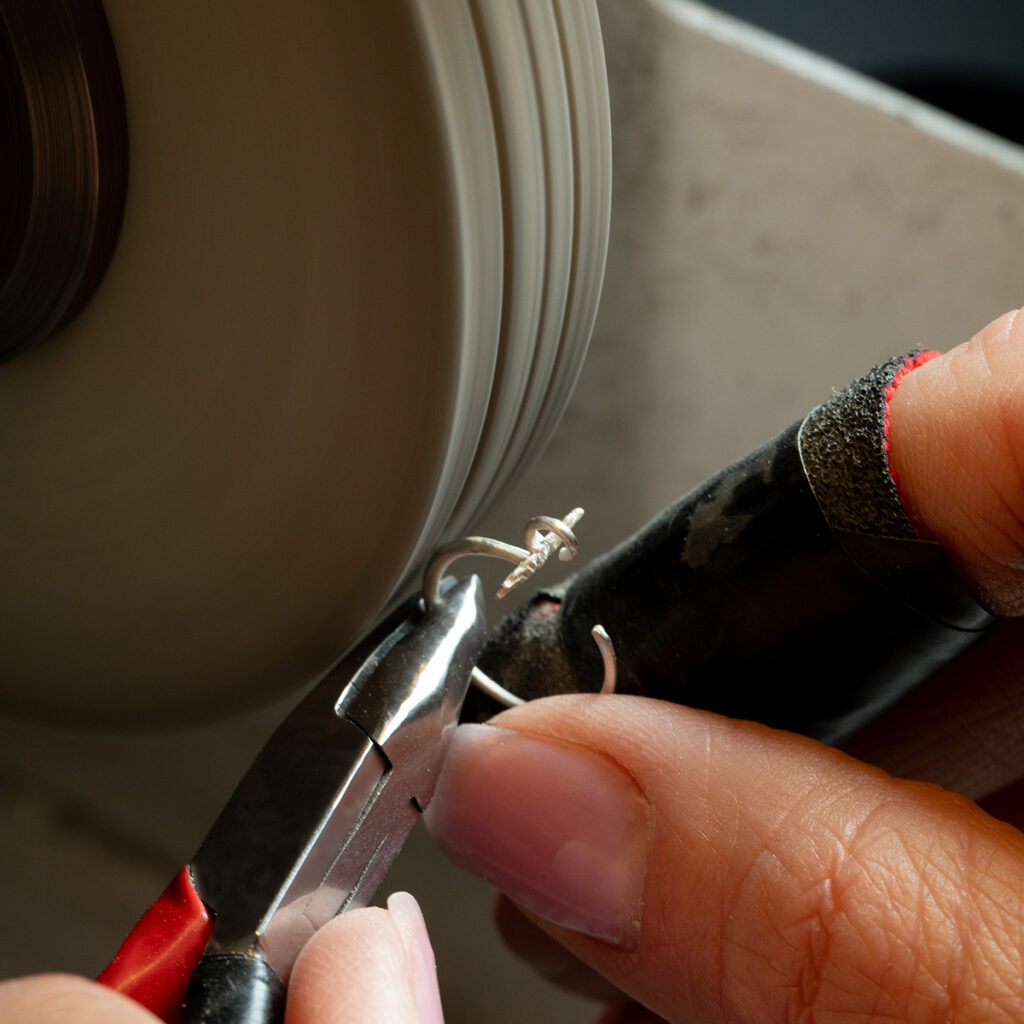
  • Jumping too far between grits (e.g., 400 → 1200): deep scratches remain under the shine.

  • Too much pressure on metal or gemstones: overheating, haze, fractures.

  • Not cleaning between grits: old abrasive scratches the next stage.

How to avoid them

  • Step through grits gradually – reduce by max 2× each jump (e.g., 320 → 600 → 800 → 1200).

  • Let the tool do the work – light pressure; wet sanding reduces heat and dust.

  • Rinse and dry after every stage – old abrasive particles guarantee new scratches.

Key takeaway:
Polishing doesn’t hide sanding mistakes – it highlights them mercilessly.

MODULE 6: FINAL FINISHING – OXIDATION, PLATING, CARE

Typical finishing mistakes

  • Plating (gold, rhodium, platinum, ruthenium) over residue (flux/grease): bubbles and peeling.

  • Too-thin coating: matte and high-wear areas rub off quickly.

  • No care instructions and tips for the customer: complaints after a month of wear.

How to avoid them

  • After final cleaning, inspect under magnification – the surface must be perfectly clean.

  • Follow recommended plating thickness (e.g., rhodium 0.1–0.3 μm, depending on use and process).

  • Include a care card: avoid chemicals, store in a soft pouch, refresh the coating when needed.

Key takeaway:
The beauty of the final layer depends more on preparation than on the coating metal itself.

ONLINE JEWELRY MAKING TRAINING SUMMARY

  • Solid tools and verified materials are the cheapest “insurance” for quality.

  • Clean, tight-fitting joints determine whether solder flows cleanly without stains.

  • Controlled heat + correct solder = strong, aesthetic seams.

  • Annealing and thickness control prevent microcracks and distortion.

  • Gradual sanding + gentle polishing creates a mirror finish without deep scratches.

  • Protective coatings plus customer education extend jewelry life – and your reputation.

Good luck creating jewelry free of avoidable mistakes – may your projects shine with precision as much as the metal they’re made from! Remember, you are an expert!

At 925CRAFT you’ll find wide range of ready-to-use jewellery making supplies such as chains for necklaces and bracelets, earring findings, clasps, bails, settings for crystals/stones/pearls/diamonds, plus natural gemstones, beads, pearls and crystals.

Stay up to date


Do you have any questions? Leave them in the comments below and we’ll be happy to help!