TRAINING 20: HOW TO ACHIEVE A MATTE FINISH ON JEWELRY AND PROTECT IT FROM SCRATCHES

JEWELLERY MAKING COURSE INTRODUCTION

Welcome to this making jewellery course for beginners on preparing and maintaining a matte jewelry finish on pieces made of silver or gold (including their alloys). A matte surface is a compelling alternative to a classic high-polish shine—this process gives jewellery a modern, understated, and premium look.

At the same time, a matte finish can show scratches more easily, especially on frequently worn items. That’s why it’s essential to understand how to create a consistent matte texture and how to protect it against abrasion to keep the desired effect for longer.

Surface Treatment Course Goals

By the end of this jewellery making course, you will be able to:

  • Understand what matting / satin finishing is and how this process works using different mechanical and chemical techniques.

  • Learn which tools and materials are needed to create and maintain a matte surface.

  • Gain practical knowledge on how to protect matte jewelry from scratches and preserve the finish over time.

This course for jewellers is divided into 4 modules. You’ll go step by step through surface preparation, matte finishing techniques, protective coatings, and maintenance / refinishing.

MODULE 1: JEWELLERY SURFACE PREPARATION

Cleanliness and Annealing (if needed)

  • Before you begin, make sure the metal surface is even and free from deeper scratches and dents.

  • If the piece required intensive work (e.g., soldering, forging), anneal the metal (silver or gold) to relax the structure. This makes the next steps (sanding, brushing, matting) smoother and more predictable.

  • Wash and degrease the item thoroughly (e.g., ultrasonic cleaner, detergent solution, or isopropyl alcohol). Any residues can cause uneven matting and patchy texture.

Check Metal Thickness

  • Confirm the jewellery element has enough thickness so light abrasion won’t weaken or wear through the metal.

  • Thin sheet metal can deform or wear through more easily—especially with more aggressive matting methods.

Conclusion:
Proper preparation is the foundation of a beautiful, durable matte finish. The cleaner and more evenly prepped the metal surface, the more consistent—and longer-lasting—your matte texture will be.

MODULE 2: METHODS TO ACHIEVE A MATTE FINISH

Mechanical Methods (Most Predictable for Matte Finishes)

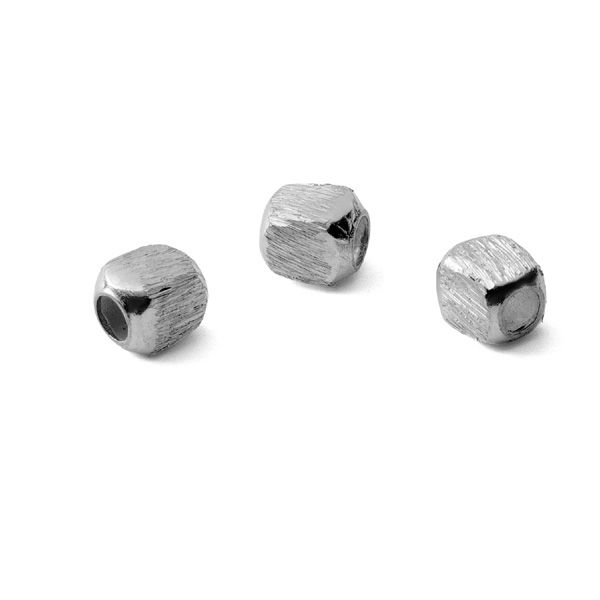
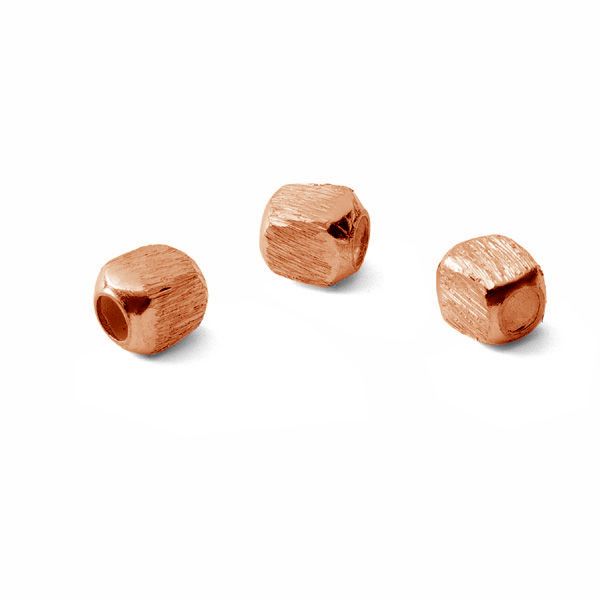
1) Brushing / Satin Finishing
Use wire brushes, abrasive pads (e.g., Scotch-Brite), sanding papers of different grits (approx. 400–1000), or matte-effect polishing rubbers.

  • Wire brushes (steel, brass): create a stronger, more visible brushed texture.

  • Abrasive pads & sandpaper: produce a more even satin finish or fine matte look.

Pro tip:

  • Move the tool in one consistent direction for a linear brushed matte finish.

  • Use circular motion for a more varied texture and softer diffusion.

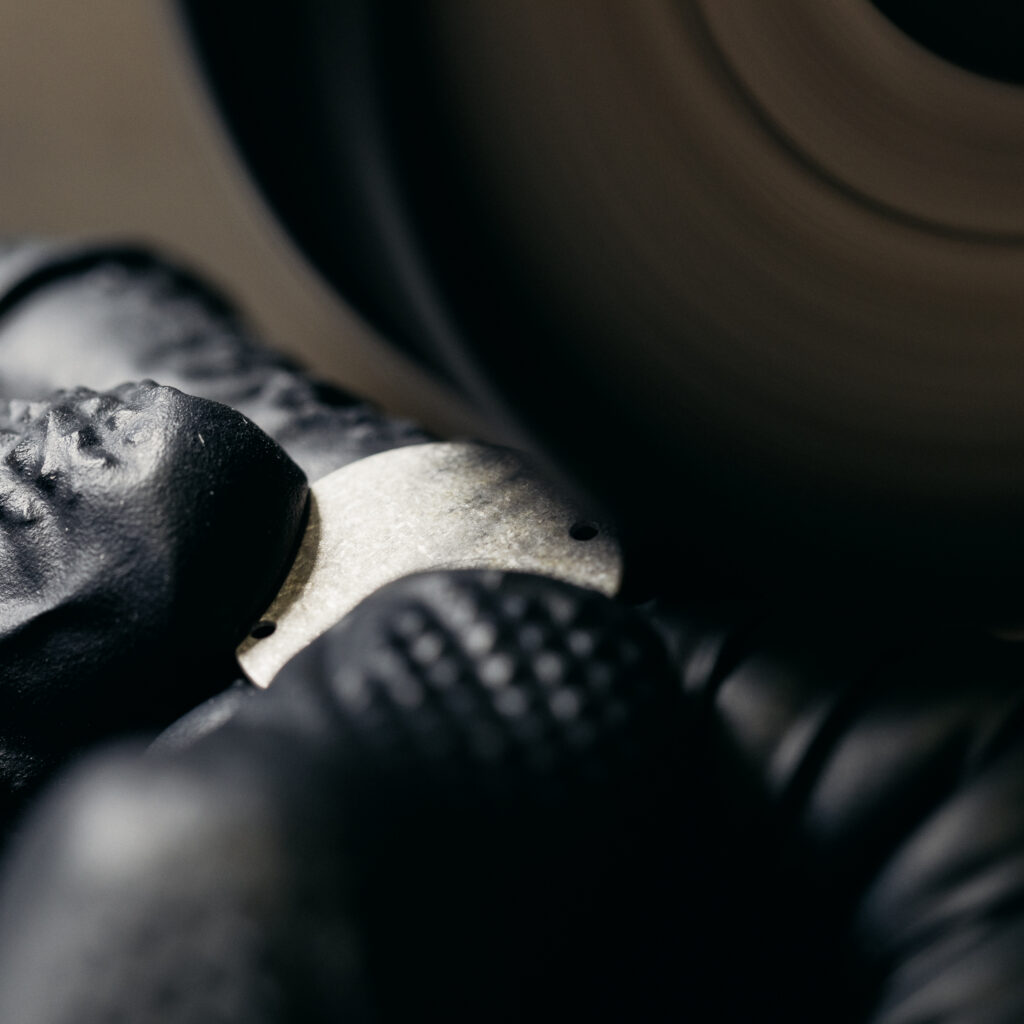
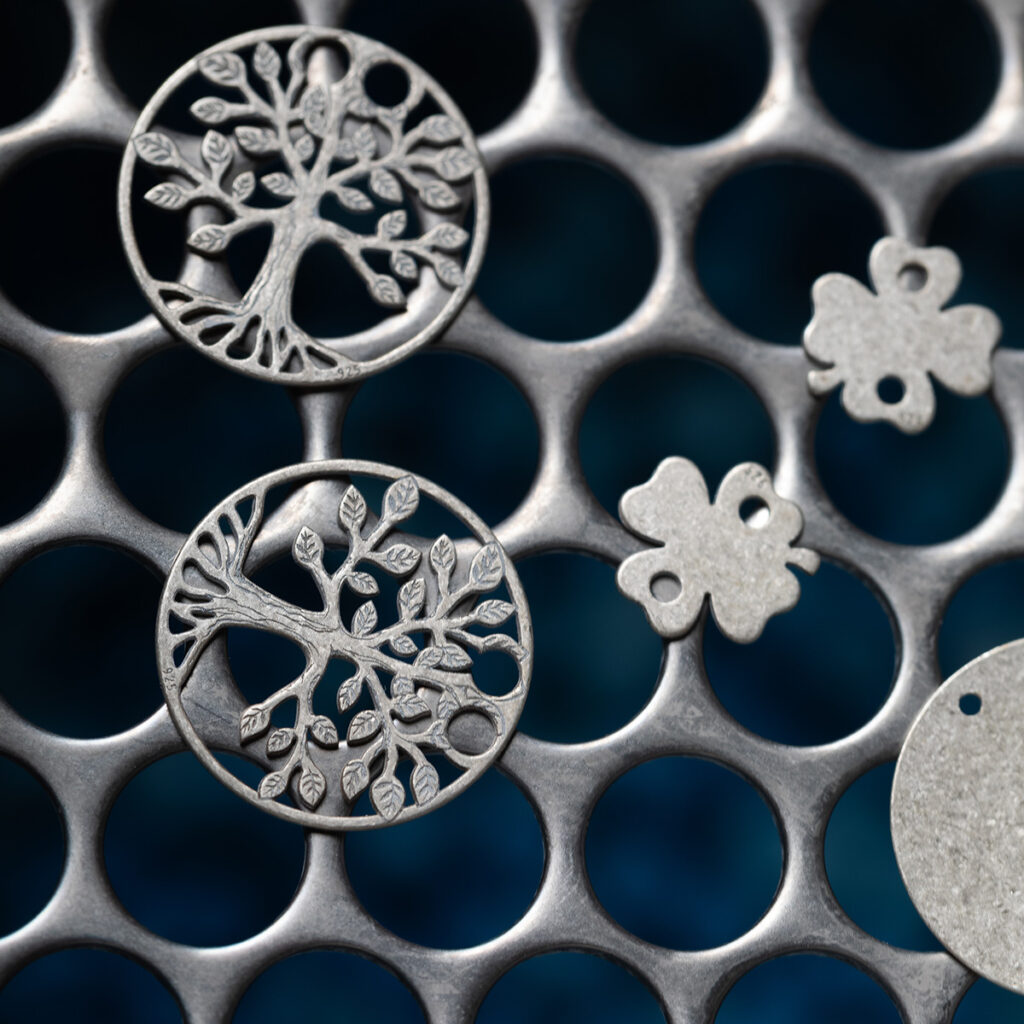
2) Sandblasting / Bead Blasting
Use a sandblaster (industrial equipment or a small blasting cabinet) with different media (glass beads, aluminum oxide/corundum). This creates a fine, uniform matte surface.

  • Be careful around edges and solder seams—overblasting can soften details or weaken sensitive areas.

Chemical Methods (Secondary / Effect-Based)

1) Acid Etching
Less common as a primary matting method in jewellery, but it can create subtle matte effects (e.g., gentle etching with ferric chloride in controlled conditions).

2) Patination / Oxidation
Darkens the surface. You can then lightly matte or selectively polish raised areas for a matte finish with color contrast and depth.

For truly even, repeatable matte finishes, mechanical methods usually deliver the most consistent results.

Finish Control

  • During matting, clean the surface periodically to evaluate uniformity. Pay attention to hard-to-reach areas (recesses, edges).

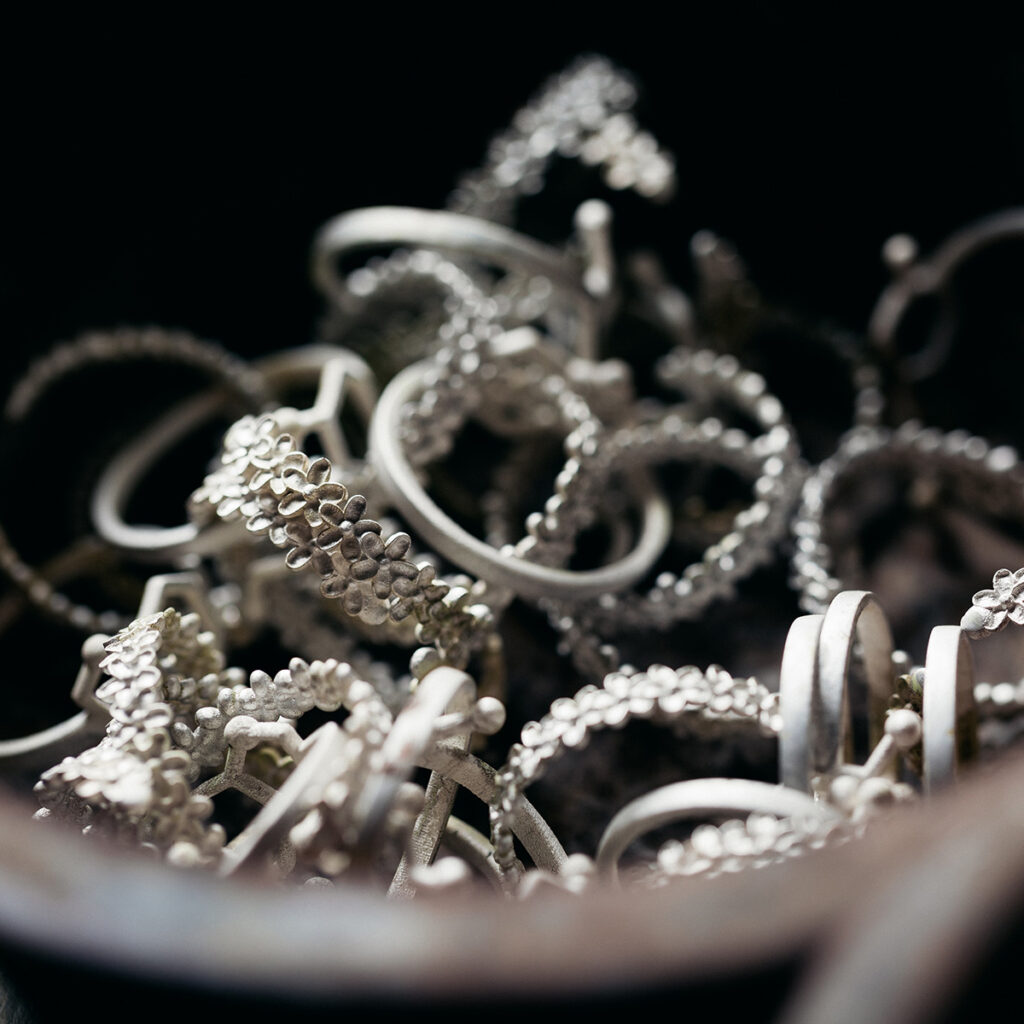
  • Different abrasives and brush types create different matte levels (non reflective appearance)—from delicate satin to a more pronounced texture.

Conclusion:
You can combine methods—for example, initial brushing followed by gentle sandblasting—to build a deeper, more premium matte finish. The final look depends on the tool, abrasive media, and your technique.

MODULE 3: PROTECTING A MATTE SURFACE FROM SCRATCHES

Natural Wear of Matte Finishes

  • With everyday wear, matte surfaces naturally become partially polished—especially on raised areas. This is normal and changes the look over time.

  • It’s worth telling clients that slight changes are expected and can give jewellery a unique, lived-in character.

Protective Varnishes / Jewelry Lacquers

  • There are clear protective lacquers designed for jewelry that help reduce scratches and slow oxidation (especially on silver jewellery).

  • The coating is thin, but it may slightly alter tone or texture creations.

  • On heavily worn pieces (rings, bracelets, chains, earrings), lacquer can wear off and may require reapplication.

Silver Passivation (Rhodium, Ruthenium and Similar Coatings)

Rhodium plating

  • A thin rhodium layer applied via electroplating on silver (or white gold) improves tarnish resistance and offers some additional scratch resistance.

  • With matte rhodium finishes, be careful during final handling—accidental polishing can reduce the matte effect and create shiny spots.

Ruthenium (or other darker coatings)

  • Can create a deeper graphite/dark matte appearance while increasing surface durability.

Jewelry Care Guidelines (Client Education)

  • Advise clients to avoid harsh chemicals (detergents, chlorinated pools), as these may damage the finish or protective layer.

  • For storage, recommend soft cloth pouches or lined boxes to reduce friction and micro-scratches.

Conclusion:
Protecting a matte finish is mostly about choosing the right protective coating (lacquer, rhodium, ruthenium) and teaching proper care. Clear guidance helps clients keep the matte look for as long as possible.

jewellery class for beginners
sophisticated gemstones
jewellery designers

MODULE 4: MAINTENANCE AND REFINISHING OF MATTE JEWELRY

Regular Cleaning (Without Polishing the Matte Away)

  • Use a soft cloth (e.g., microfiber). Hard brushes can unintentionally polish the surface and increase shine.

  • If gentle washing is needed (e.g., mild soap solution), avoid aggressive scrubbing.

At-Home Matte Touch-Ups (With Caution)

  • Some clients may attempt to restore a matte finish using fine sandpaper or an abrasive pad (e.g., Scotch-Brite).

  • Recommend light pressure and consistent direction to prevent patchiness.

  • For complex designs (gemstones, sparkle crystals, artistic pendants, carvings, detailed settings), encourage professional refinishing in a workshop.

Professional Workshop Refinishing

  • Offer periodic matte restoration services (e.g., sandblasting, machine brushing) under controlled conditions.

  • It’s also a good moment to check solder joints and the condition of stone settings.

Experimenting With Matte Variations

  • Suggest creative options: partial polishing of raised elements, matte in recessed areas, or combining matte and glossy surfaces for contrast.

  • Mixing matte and shiny zones can refresh older jewelry and highlight design features.

Conclusion:
Maintaining a matte finish long-term requires mindful care and occasional refinishing. With workshop services, you can restore the original look—or even enhance it with new contrasts.

JEWELLERY MAKING COURSE SUMMARY

  • Surface preparation: leveling, optional annealing, and degreasing are essential before matting.

  • Matte finishing techniques:

    • Mechanical methods (brushing, sandpaper, sandblasting) provide predictable satin or raw matte textures.

    • Chemical methods (light etching, patination) are less common as primary matte methods but offer interesting color effects.

  • Matte protection:

    • Protective coatings (lacquer, rhodium plating, ruthenium coatings).

    • Proper care: avoid harsh chemicals, store softly, and explain natural wear to clients.

  • Maintenance and refinishing:

    • Gentle cleaning, workshop refinishing, and creative matte/gloss contrast options.

Good luck creating and preserving beautiful matte finishes on jewelry! Each piece may need a slightly different approach—experiment with tools and coatings, and educate clients so they can enjoy the matte look for as long as possible.


Stay up to date


Do you have any questions? Leave them in the comments below and we’ll be happy to help!