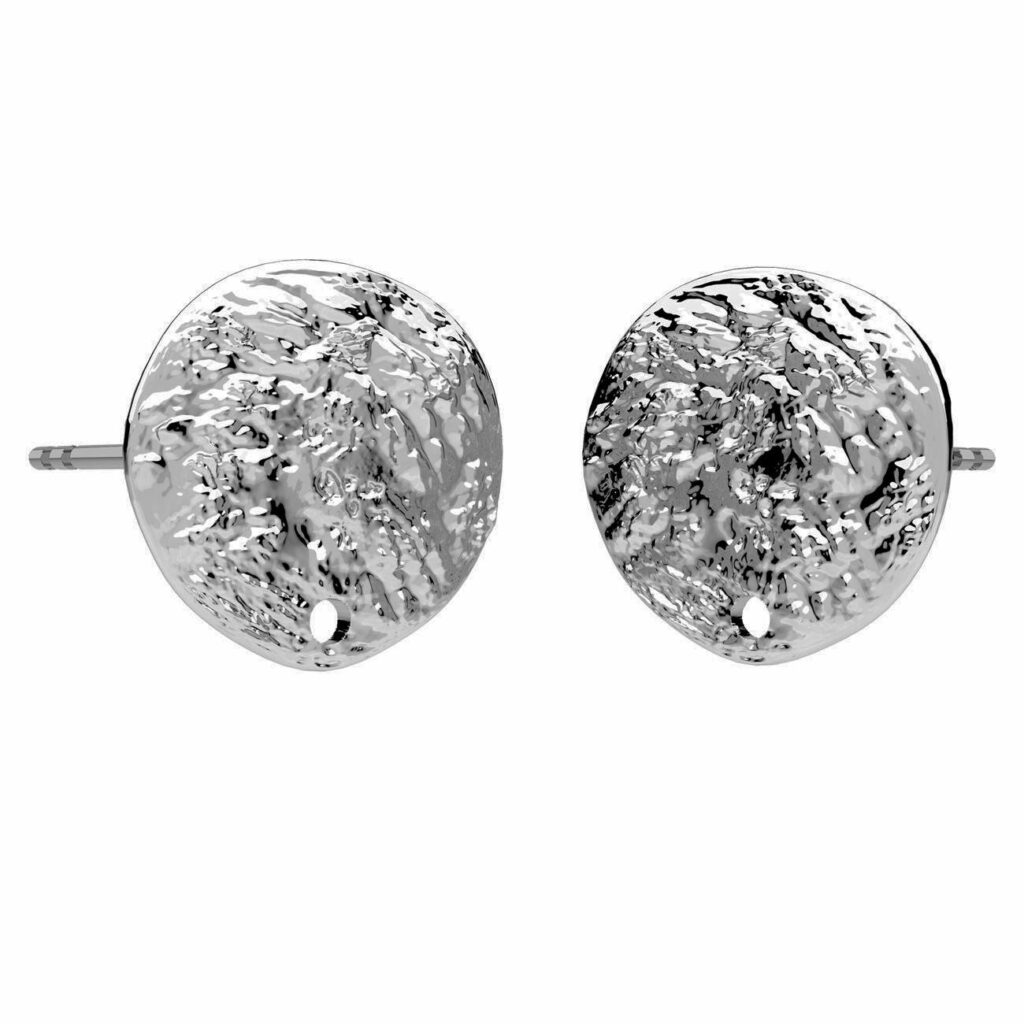
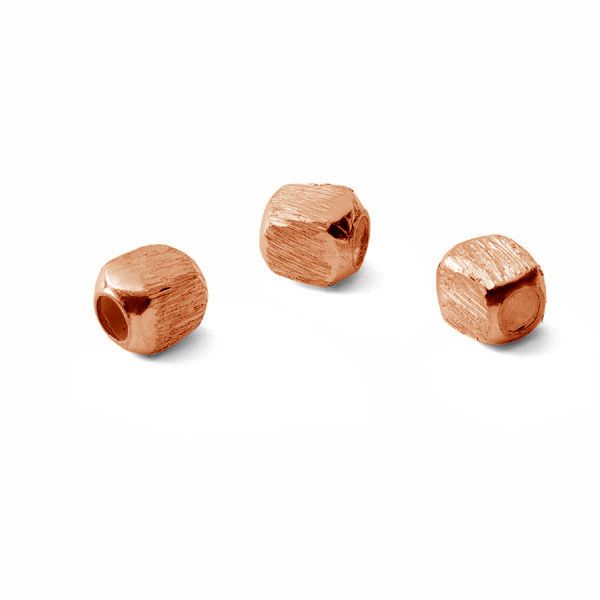
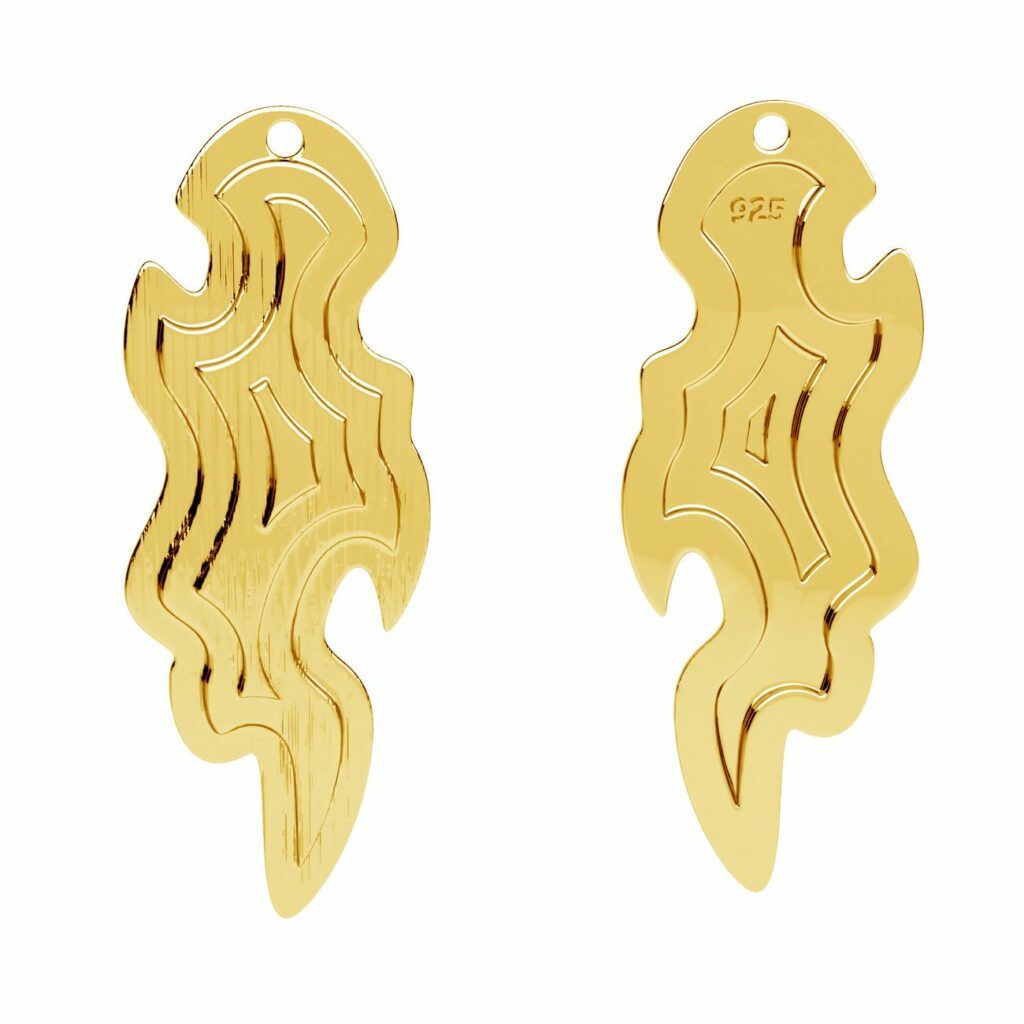
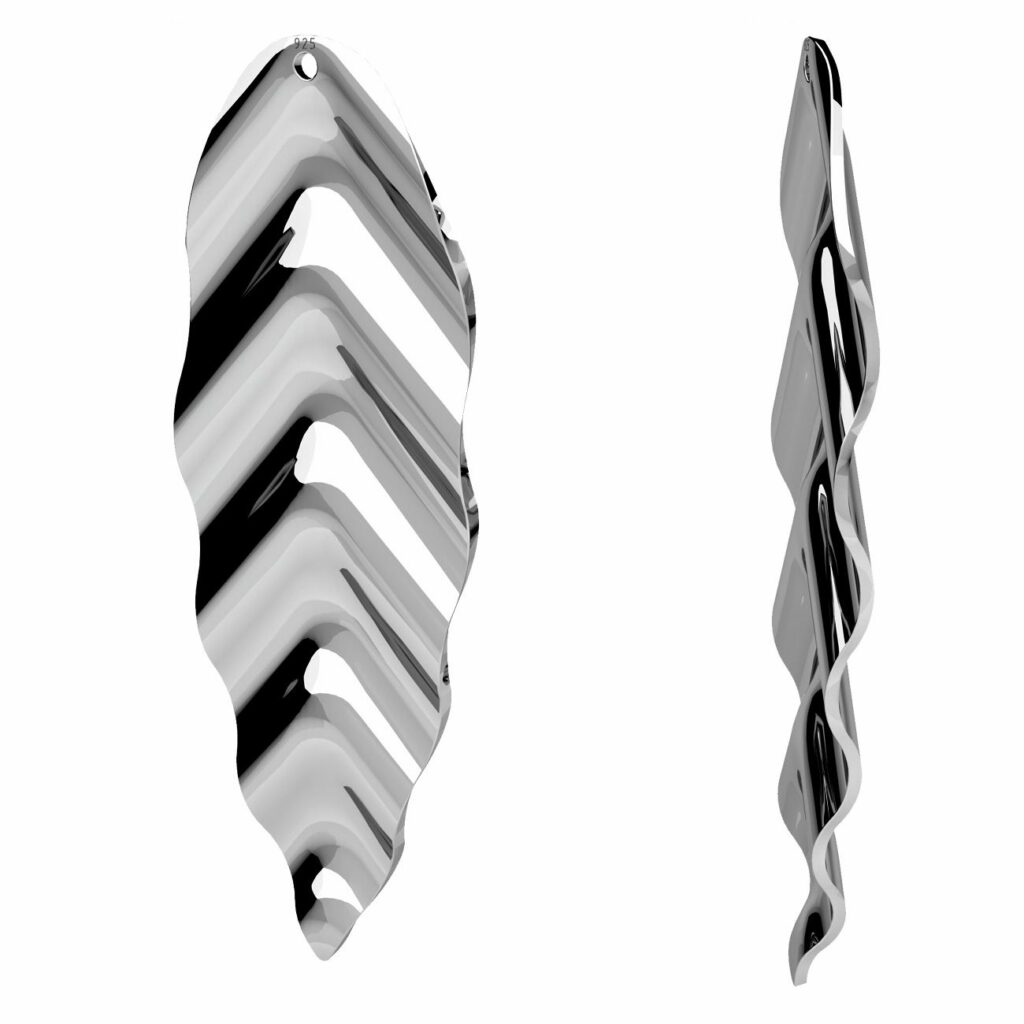
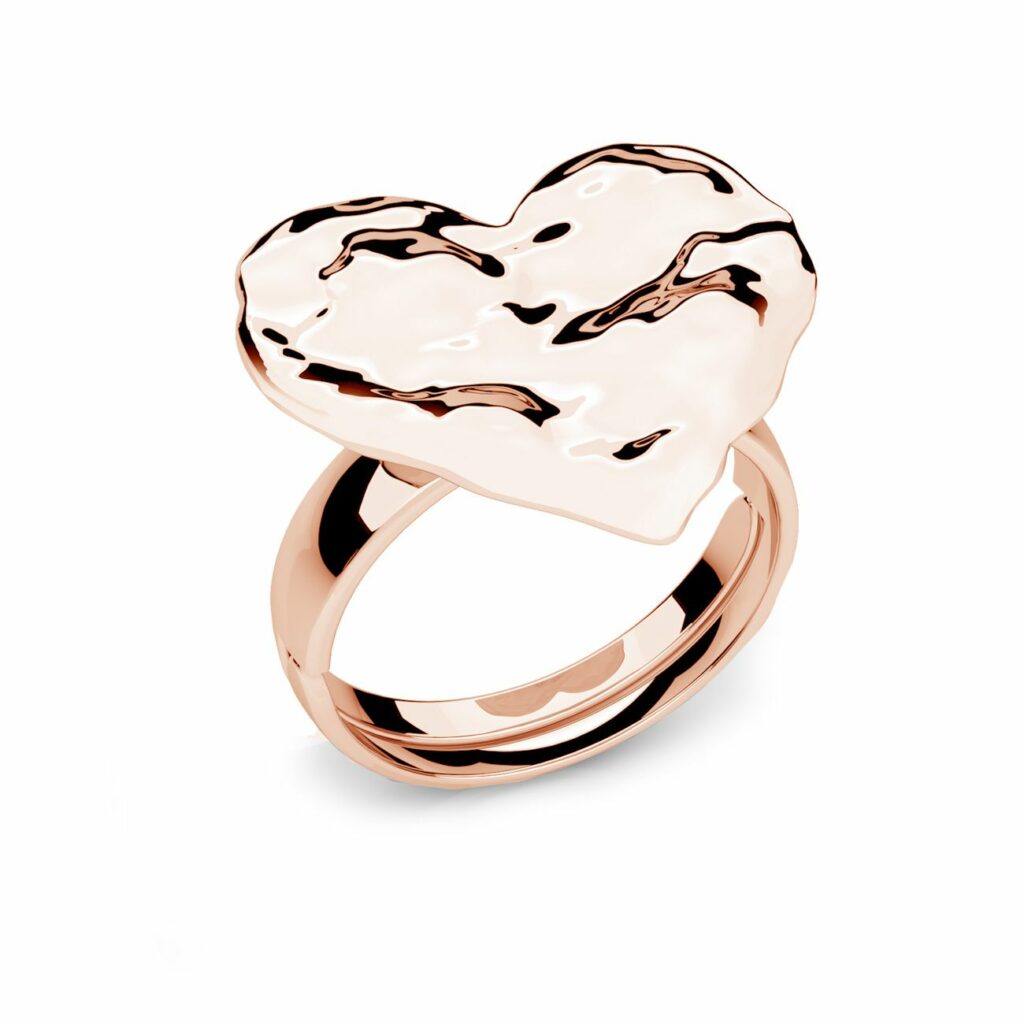
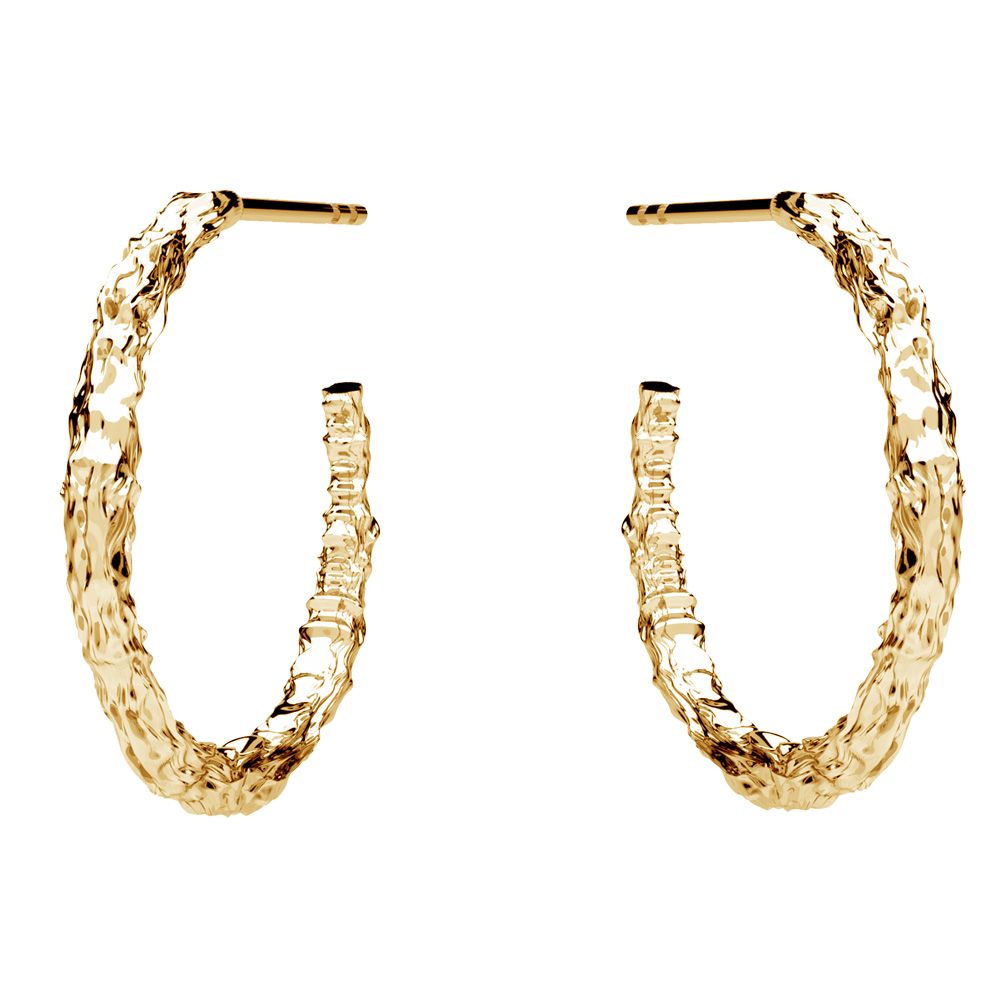
TRAINING 19: POPULAR METHODS OF TEXTURING SILVER AND GOLD SURFACES
INTRODUCTION
Contents
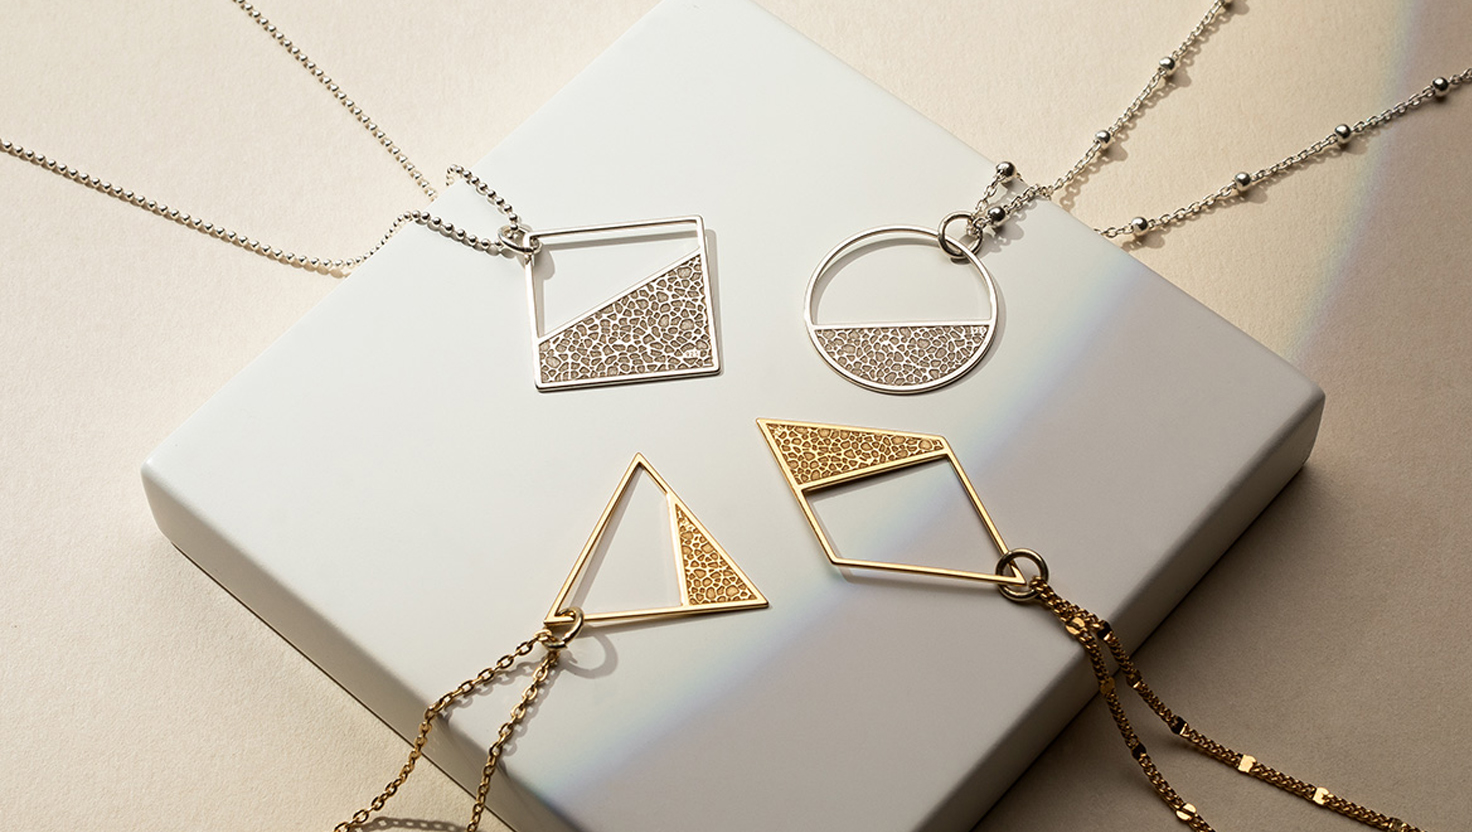
Welcome to this jewellery workshop on texturing metal—one of the most effective ways to give silver and gold jewellery a distinct personality. Textured jewelry is a strong alternative to high-polish surfaces: they add depth, improve light reflection, and instantly elevate the artistic value of a jewelry piece. Today’s jewellery maker can choose from many techniques, from simple hammered textures and satin finishes to more advanced methods like etching and reticulation.
Jewellery Making Course Objectives:
Learn the most popular silver and gold texture techniques
Gain practical guidance for safe, controlled surface work
Understand how to choose the right texture for your design, style, and jewellery business goals
This jewellery making workshop is divided into 4 modules so you can develop skills step by step.
MODULE 1: MATERIAL PREPARATION & SAFETY BASICS
Choosing the right metal
Silver: a common beginner-friendly choice—soft, workable, and ideal for learning jewellery texturing techniques.
Gold: requires more controlled handling (especially higher karats), but the core methods are similar to silver.
Before starting to add texture, check thickness:
too thin → may crack or distort during hammering or rolling
too thick → harder to form and texture evenly
Annealing (softening) the metal
Annealing often helps before mechanical texturing (hammering, rolling) because it increases ductility and reduces the risk of stress cracks. After texturing, you can anneal again if you plan further forming or soldering.
Safety essentials
Eye protection: prevents injury from metal chips and tool bounce
Hearing protection: useful during heavy hammering sessions
Ventilation: mandatory for chemical patinas and during heating/annealing
Conclusion:
Good preparation (metal choice, thickness, annealing) and safety habits give you control and consistency—two key skills in professional jewellery making.
MODULE 2: MECHANICAL TEXTURING METHODS
Hammered texture creation (hammering metal)
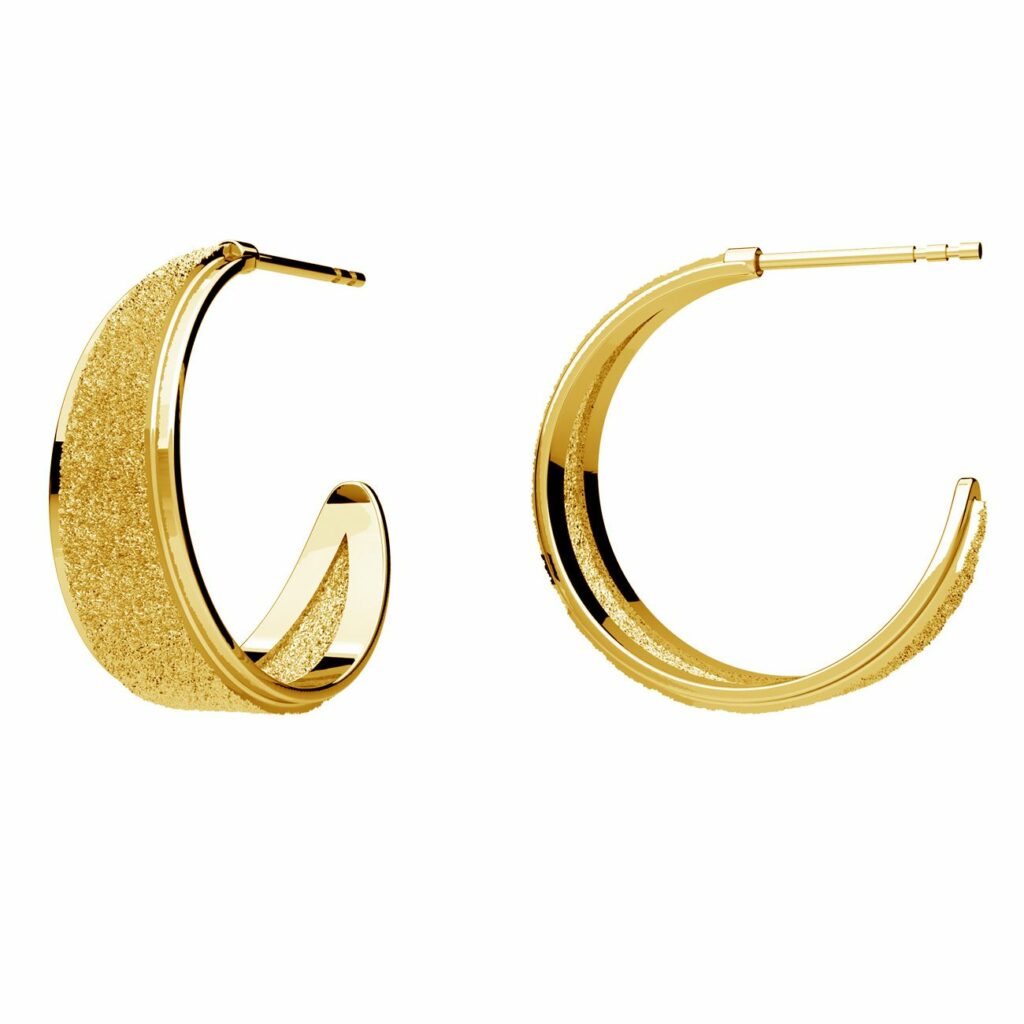
The most accessible and popular technique. Different hammers create different looks: polished, domed, cross-peen, linear, or patterned faces.
How to do it:
Place the metal sheet on a solid bench block or anvil
Strike rhythmically with consistent light pressure
Rotate the piece or change angle for uniform coverage
Check the pattern frequently for balance and depth
Pros: fast, bold, durable
Cons: needs practice to avoid uneven or overly deep marks
Rolling mill textures (texture rolling)
A rolling mill can imprint patterns by pressing metal together with texture materials (etched plates, lace, mesh, sandpaper, paper textures).
Pros: repeatable textures over larger surfaces
Cons: requires a rolling mill and careful pressure control
Chasing & repoussé / engraving
Chasing & repoussé: shaping from the back (repoussé) and refining from the front (chasing) to create raised and recessed relief patterns.
Engraving: cutting lines with a graver for crisp, illustrative detail.
Pros: artistic, high-end, highly detailed
Cons: slow learning curve, tool-intensive, time consuming
Brushing, sanding, satin finishing
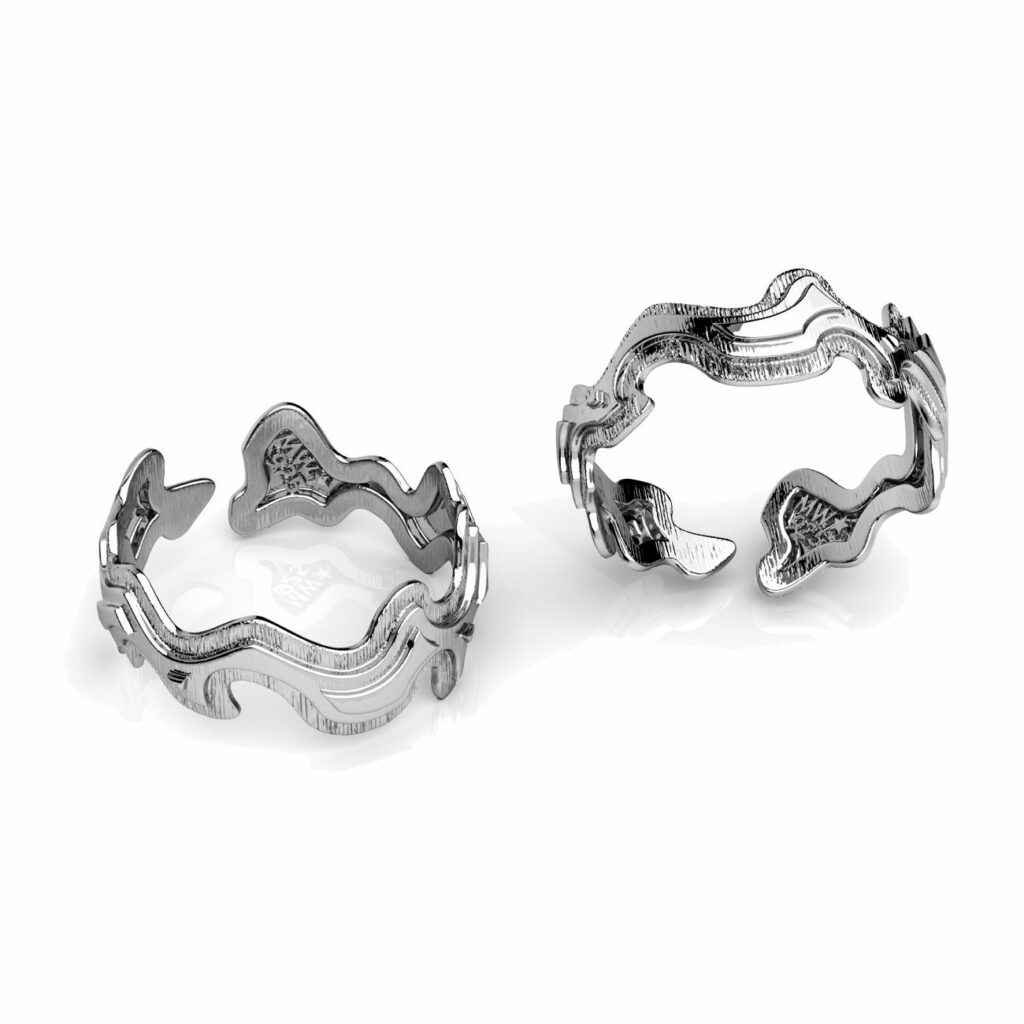
Using wire brushes, abrasive pads (e.g., Scotch-Brite), or sandpaper creates matte, satin, or linear textures.
Direction matters: straight, circular, cross-hatched
Great for refreshing surfaces or creating modern minimal finishes
Pros: affordable, quick, beginner friendly
Cons: subtler texture; needs even pressure to avoid patchiness
Conclusion:
Mechanical methods are ideal when you want durable, visible jewelry texture. Start simple (hammered, satin) and scale into rolling, chasing, and engraving as your practice grows.

MODULE 3: CHEMICAL & THERMAL TEXTURING METHODS
Etching (acid etching)
You apply a resist (lacquer, wax, vinyl) to protect areas, then expose the piece to an etchant (e.g., ferric chloride) to create relief textures.
Pros: graphic precision, controlled depth
Cons: strict safety + ventilation required, slower process
Reticulation (reticulation on silver)
Reticulation involves repeated heating—most commonly on specially prepared silver—so the surface layer “wrinkles” into organic folds.
Pros: unique, one-of-a-kind texture every time
Cons: requires torch control; risk of melting through the piece
Patina (oxidation / patination)
Patina changes the colour of metal, often used on silver (e.g., Liver of Sulphur) to darken recesses and increase contrast. You can selectively polish raised areas to make textures pop.
Pros: dramatic contrast, antique look
Cons: patina wears over time; may require sealing or refreshing the colour
Conclusion:
Chemical and thermal methods can produce the most distinctive, organic jewellery textures—but they demand safety, ventilation, and temperature discipline.
MODULE 4: FINISHING, PROTECTION & CARE
Combining techniques for signature results
Layering methods creates standout surfaces:
hammering + light etch + selective patina
rolling texture + satin finishing
reticulation + partial polish for contrast
This “stacked texture” approach is powerful for building a recognisable brand style.
Selective polishing
After patina or reticulation, polish only raised areas using soft cloths, felt, or rubber polishers. This boosts contrast and keeps the texture readable.
Protecting textured metal surfaces
For patinas: consider microcrystalline wax or jewelry-safe clear coatings
Explain to clients that texture/patina can naturally soften with wear—this is normal and often adds character
Customer care guidance
Avoid harsh chemicals and aggressive scrubbing
Clean gently with a soft cloth
Offer workshop refresh services for re-patina or surface re-texturing
Conclusion:
Finishing and protection determine how long your silver and gold texture lasts and how the jewelry ages in real life—this matters for both quality and customer satisfaction.
SUMMARY OF THE JEWELLERY COURSE
Prepare correctly: choose metal thickness, anneal when needed, and work safely.
Mechanical textures: hammered, rolling mill patterns, chasing/repoussé, engraving, satin finishes.
Chemical/thermal textures: etching, reticulation, patina for contrast and organic surfaces.
Finishing: combine techniques, polish selectively, protect patina, and educate clients on care.
Good luck with your jewellery texturing practice! With experimentation, you’ll develop a feel for how silver and gold respond to tools, heat, and finishing—and you’ll be able to create signature textures that make your work instantly recognisable.
Want to know more?
- Find out: 925CRAFT- jewelry making supplier
- Read the article: Swarovski FAQ — Part 3
- Get inspired: Jewelry trends for Fall 2024
- Check also: How to clean silver jewelry at home?
- Discover: Cube beads with letters for jewellery making