TRAINING 18: HOW TO SET GEMS SECURELY TO PREVENT DAMAGE OR FALLING OUT

INTRODUCTION

Welcome to this jewellery workshop focused on secure stone setting—the techniques that help you avoid gemstone damage during setting and prevent loose stones or stone loss in everyday wear. To create jewelry that is both beautiful and durable, you need to understand the gemstone’s properties and choose a setting style that supports long-term stability.

Jewelry Course Objectives:

  • Learn how to design and fit a setting style to the exact gemstone shape and measurements

  • Understand what mistakes cause gems to crack, chip, or loosen

  • Build a reliable routine for testing stone security and making final adjustments before finishing process

This setting stones course is divided into 4 modules so you can practice step by step and confidently create jewellery that withstands daily use.

MODULE 1: CHOOSING THE RIGHT SETTING STYLE & PLANNING FOR DURABILITY

Analyse the gemstone and the design

  • Shape & size: faceted stones (round, oval, princess cut) often suit prongs or channel settings, while cabochons and irregular shapes are usually safer in a bezel.

  • Hardness & cleavage: stones with higher cleavage (e.g., topaz) or lower hardness (opal, turquoise) benefit from protective settings like bezel setting rather than aggressive prong setting.

  • Daily-wear jewellery: rings worn daily need extra protection—strong prongs, a secure bezel lip, or a well-built channel are essential for long-term stability.

Most popular stone setting techniques

  • Prong setting: excellent sparkle and light entry (engagement rings), but prongs must be shaped, tightened, and finished correctly or they can bend and the stone may loosen.

  • Bezel setting: the metal surrounds the stone, offering one of the most secure options—ideal for softer gemstones and for everyday jewellery design.

  • Channel setting: perfect for rows of multiple stones (wedding bands, eternity styles), but requires precise channel dimensions and consistent stone sizing.

  • Pavé / micro pavé: highly decorative continuous sparkle but requires advanced precision; small stones/beads and metal prongs must be evenly formed and properly tightened.

Plan the workflow

  • If soldering is needed near the setting, complete all soldering and metalwork first, then set the gemstone at the final stage.

  • Leave enough metal for final tightening—especially with prongs and bezel lips—so you can adjust without forcing the stone.

Conclusion:
The best stone setting starts at the design stage. Match the setting type to the gemstone’s hardness, cleavage, shape, and how the jewellery will be worn.

MODULE 2: PREPARATION – MEASUREMENTS, TEMPLATES & ESSENTIAL TOOLS

Accurate gemstone measurements

  • Measure diameter/length/width and stone height.

  • Create a seat that fits precisely—never force the stone in, and never allow it to “swim” in an oversized seat.

Templates and mock-ups

  • For difficult shapes, create a test model (metal sheet, wax, or a simple mock-up) to confirm the fit before final cutting and finishing. This prevents costly setting errors.

Tools for shaping and inspection

  • Saw frame, drill bits, burs: to cut openings and prepare the seat.

  • Gravers, punches, pliers: to tighten prongs, push bezel lips, and secure channel walls.

  • Loupe or jewellery microscope: to check gaps, sharp edges, scratches, and stone contact points.

Helpful setting aids

  • Jeweller’s wax or putty: temporary positioning and visual checks before final tightening.

  • Protective tape: shields delicate stone edges and reduces accidental tool marks during test fitting.

Conclusion:
Most loose stones are caused by poor preparation. Precise measurements and clean, accurate seat cutting are the foundation of secure stone setting.

MODULE 3: STONE SETTING YECHNIQUES – STEP-BY-STEP SETTING

Prong setting

  1. Build a basket with the correct number of prongs (typically 4–6).

  2. Test the fit: the stone should sit stable with minimal movement.

  3. Tighten prongs in opposite pairs (cross pattern) to keep the stone centred.

  4. Round and smooth prong tips so they don’t snag during daily wear.

Bezel setting

  1. Cut the bezel strip and form it around the stone with slight extra height.

  2. Solder the bezel seam, true the wall, and attach to the base if required.

  3. Seat the stone and push the bezel lip down gradually and evenly around the circumference.

  4. Remove sharp edges and polish carefully—your bezel must feel smooth and secure.

Channel setting

  1. Cut and bur a channel that matches the stone size and depth.

  2. Place stones one by one, ensuring the tops align evenly.

  3. Close the channel walls with controlled, even pressure so stones cannot shift.

Security checks (non-negotiable)

  • Tap gently with a soft tool (wood stick) from different angles—no rattle = good sign.

  • Inspect under magnification for gaps, micro-cracks, or uneven pressure points.

  • Before final polishing, remove any sharp edges that could damage the stone or catch on clothing.

Conclusion:
Secure stone setting is about even pressure and controlled tightening. Too much force cracks stones; too little force leads to loose stones and eventual loss.

MODULE 4: FINISHING, REINFORCEMENT & CUSTOMER CARE

Final polishing process

  • Mechanical polishing can introduce heat and vibration. Work carefully around stones.

  • For sensitive stones (opal, pearls, amber), polish metal sections away from the stone or use hand-finishing methods.

Reinforcement and adjustments

  • For larger or heavier stones, add subtle structural support (especially under cabochons).

  • Ensure prongs are not too thin—weak prongs deform in daily wear and stones can fall out.

Aftercare instructions

  • Advise clients to avoid harsh chemicals, strong impacts, and extreme heat.

  • Recommend periodic setting checks—especially for daily-wear rings.

Your craftsmanship reputation

A stone that stays secure builds trust. Clean finishing, smooth edges, and professional security testing are what separate hobby work from high-quality jewellery making.

Conclusion:
Finishing process is as important as setting. A professional result protects the gemstone and ensures the jewellery remains safe and wearable for years.

SUMMARY OF THE JEWELLERY MAKING COURSE

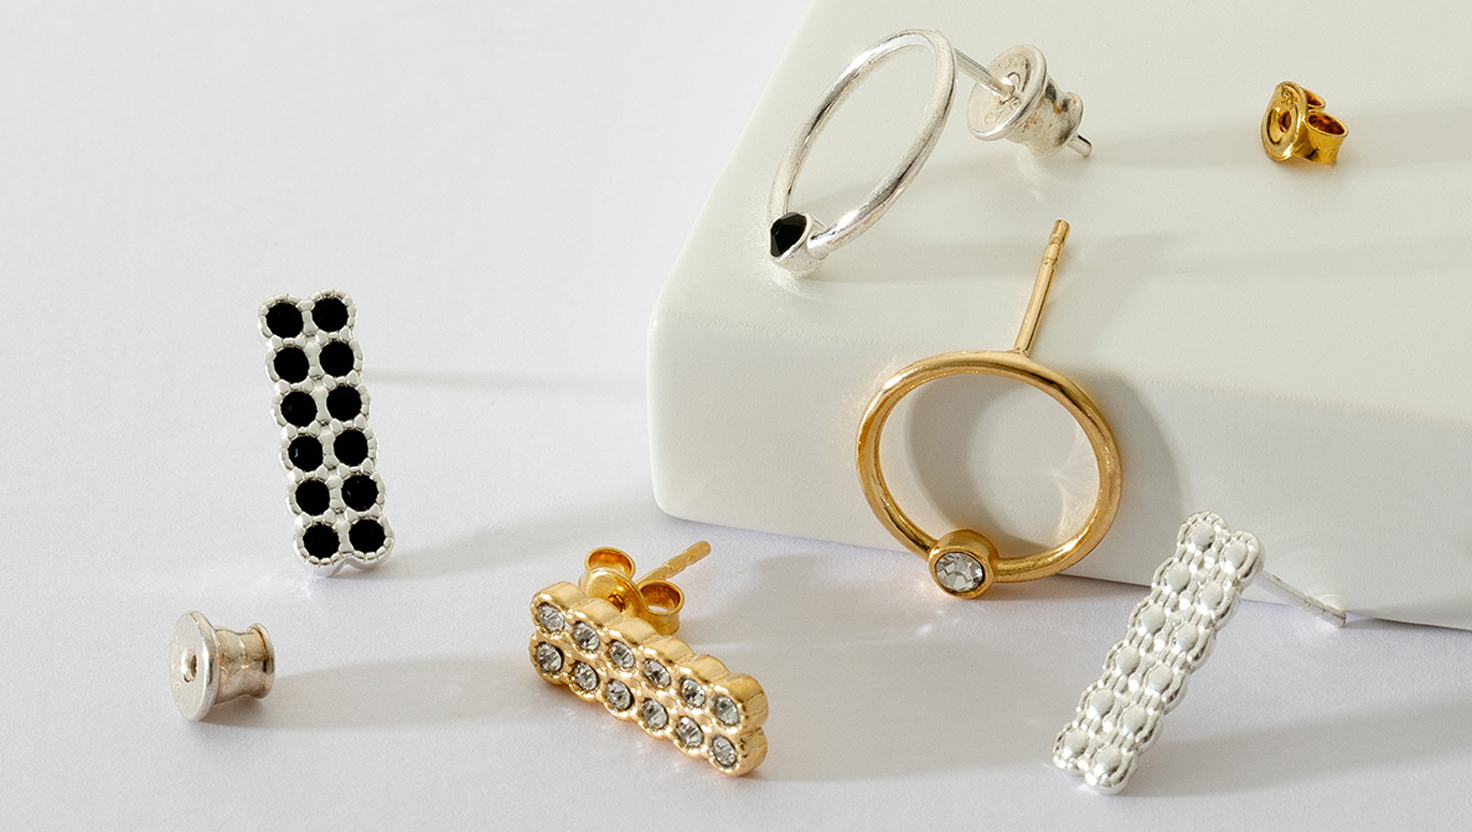
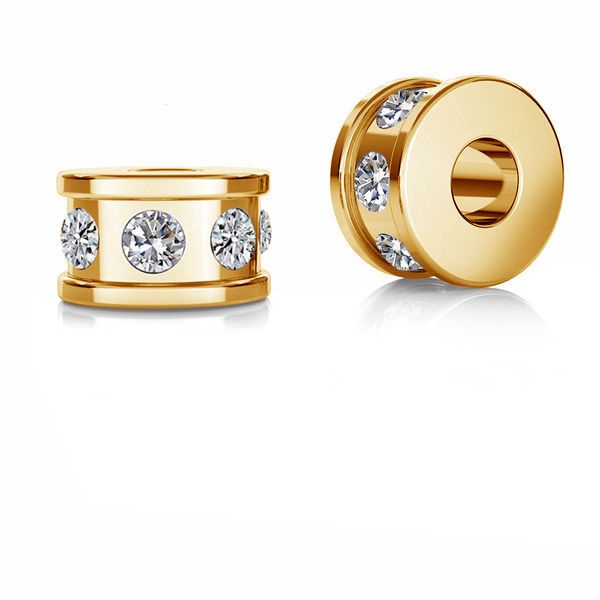
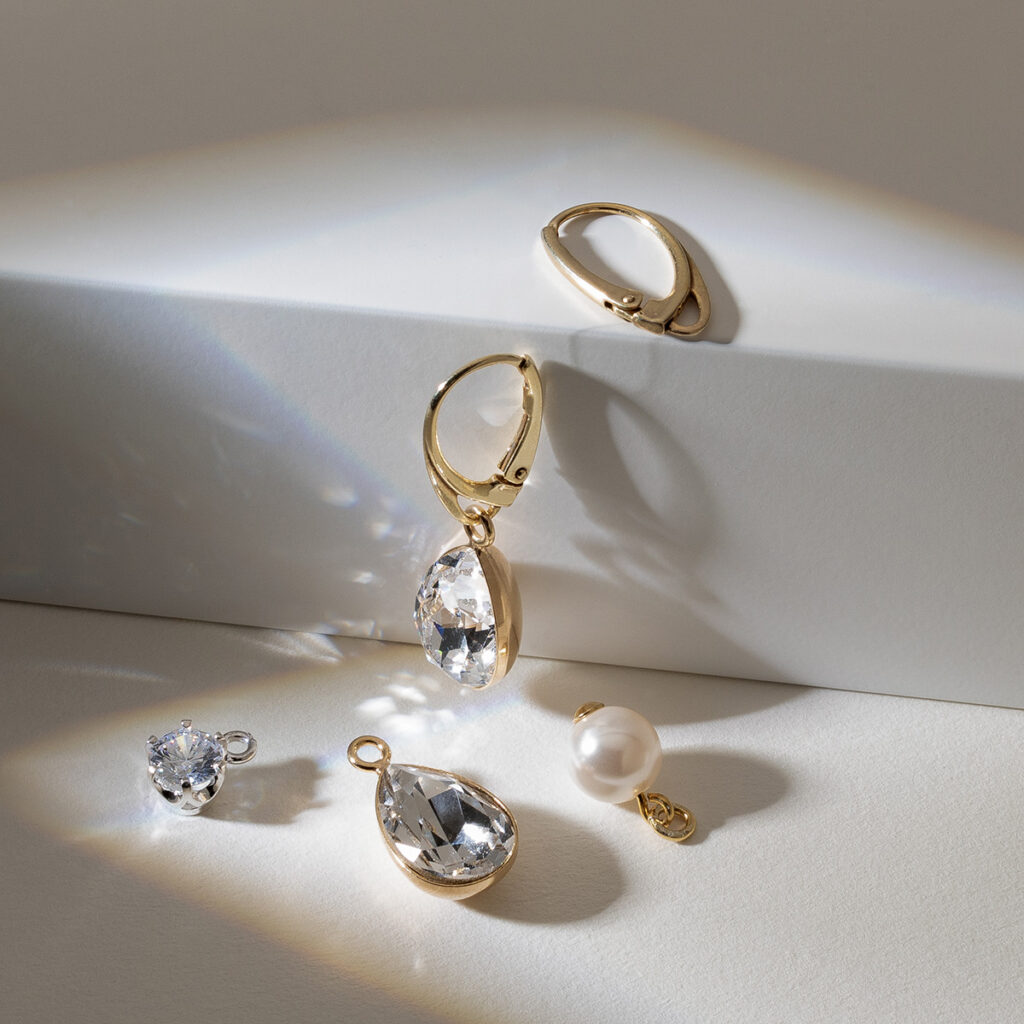
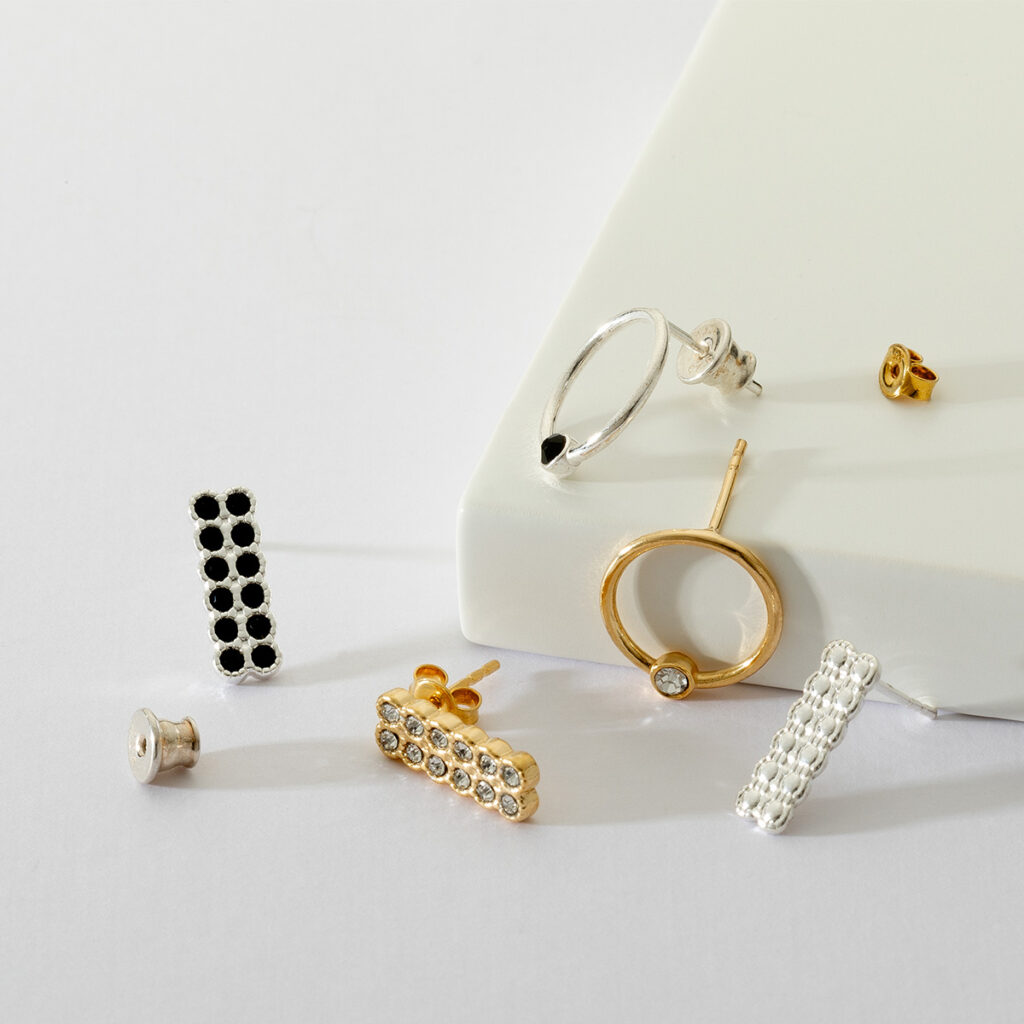
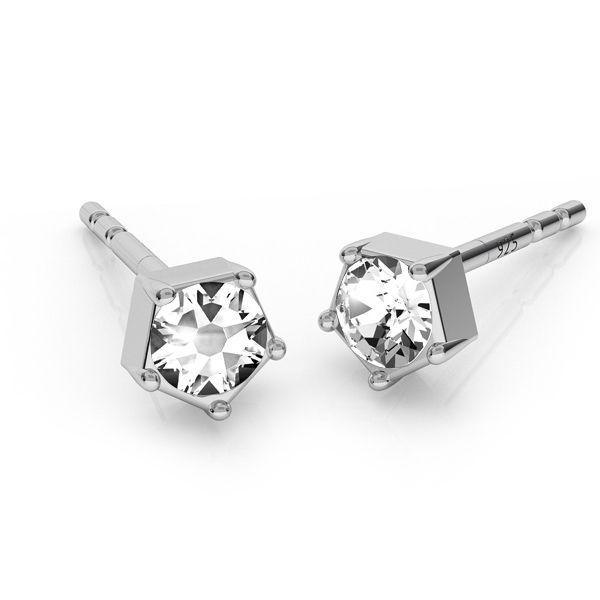
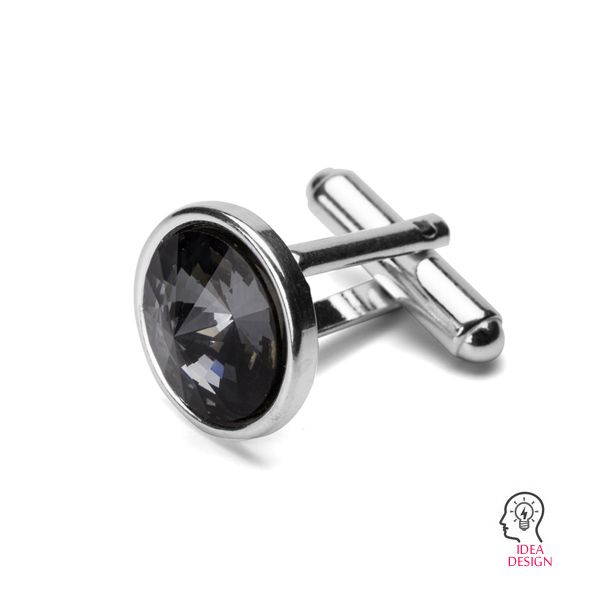
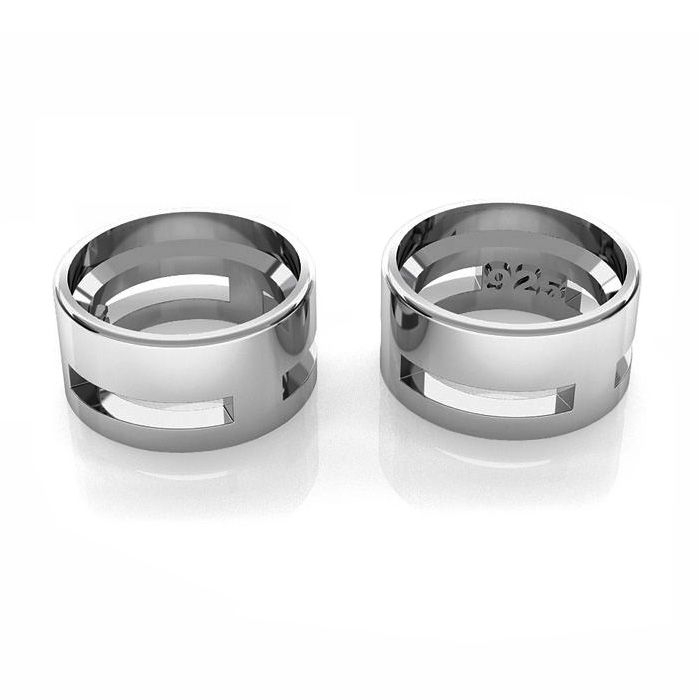
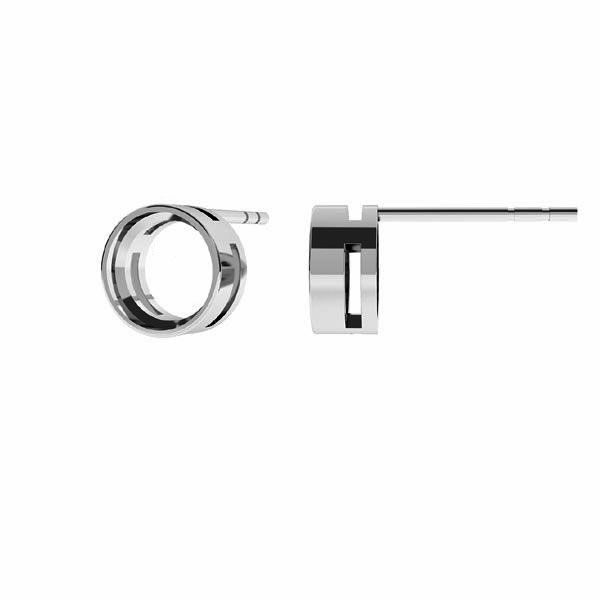
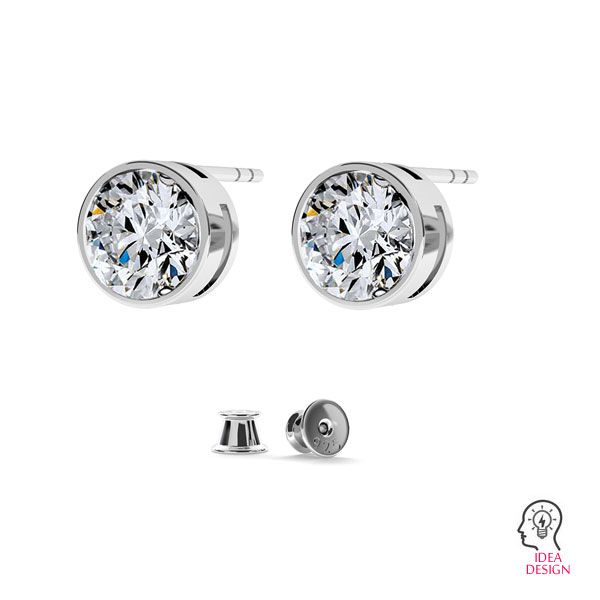
  • Choose the correct setting style (prong setting, bezel setting, channel, micro pavé or pavé setting) based on gemstone hardness, cleavage, size, and daily-wear risk.

  • Precise measurements and a properly cut seat prevent cracking and future looseness.

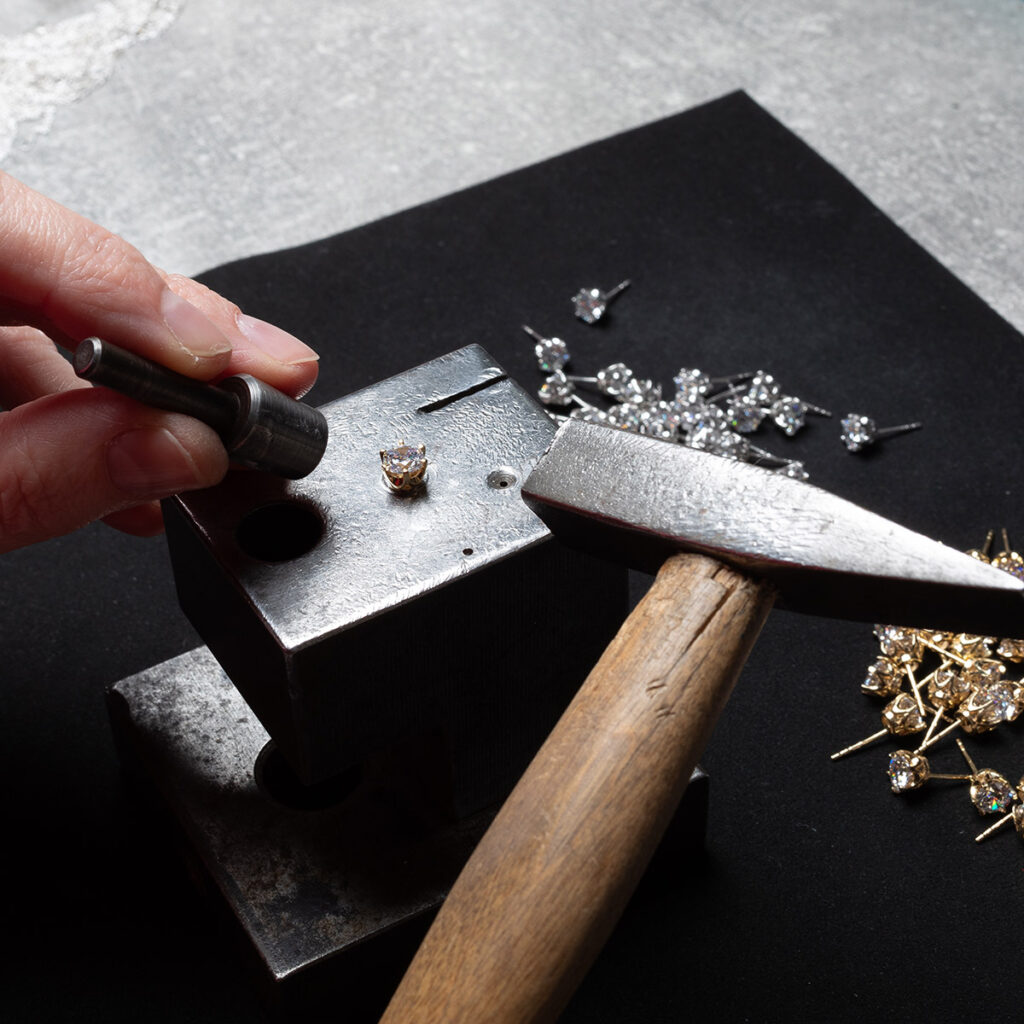
  • Tighten metal gradually and evenly using professional stone setting tools (punches, gravers, pliers).

  • Always test stability, inspect under magnification, and polish carefully to avoid heat/vibration damage.

  • Clear aftercare guidance helps stones stay secure long-term.

Good luck with your stone setting practice! With patience, precision, and gemstone knowledge, you’ll create jewellery that is not only stunning but also durable and secure for everyday wear.

In the 925CRAFT range you can find a wide selection of jewelry making supplies including stone settings, popular precious stones such as ruby, sapphire, emerald, and many other natural stones such as: onyx, amethyst and many more—perfect for creating earrings, pendants, rings, bracelets, necklaces, cufflinks and other modern jewelry pieces.


Stay up to date


Do you have any questions? Leave them in the comments below and we’ll be happy to help!