LESSON 2: A PRACTICAL JEWELLERY WORKSHOP FOR BEGINNER JEWELLERS

Course Intro

Ever wondered which tools you actually need to craft jewelry your customers will love? The right toolkit is as critical as knowing your metals or hallmarking rules. Just as official hallmarks confirm metal fineness, a well-chosen set of tools guarantees precision, safety, and a perfect finish.

In this jewellery making training, you’ll learn the essential tools for working with 925 sterling silver and gold 585, how to use them safely and efficiently, and how to set up a compact bench that supports consistent, high-quality results.

Training Goals

  • Understand the functions of the most important beginner jeweller’s tools.

  • Learn safe, efficient techniques for everyday bench work.

  • Set up a workspace that helps you produce durable, beautifully finished precious metal jewellery design.

The jewellery making course is organized into 4 modules.

Module 1: Workspace & Core Accessories

Jeweler’s bench (bench pin, vise/anvil block)

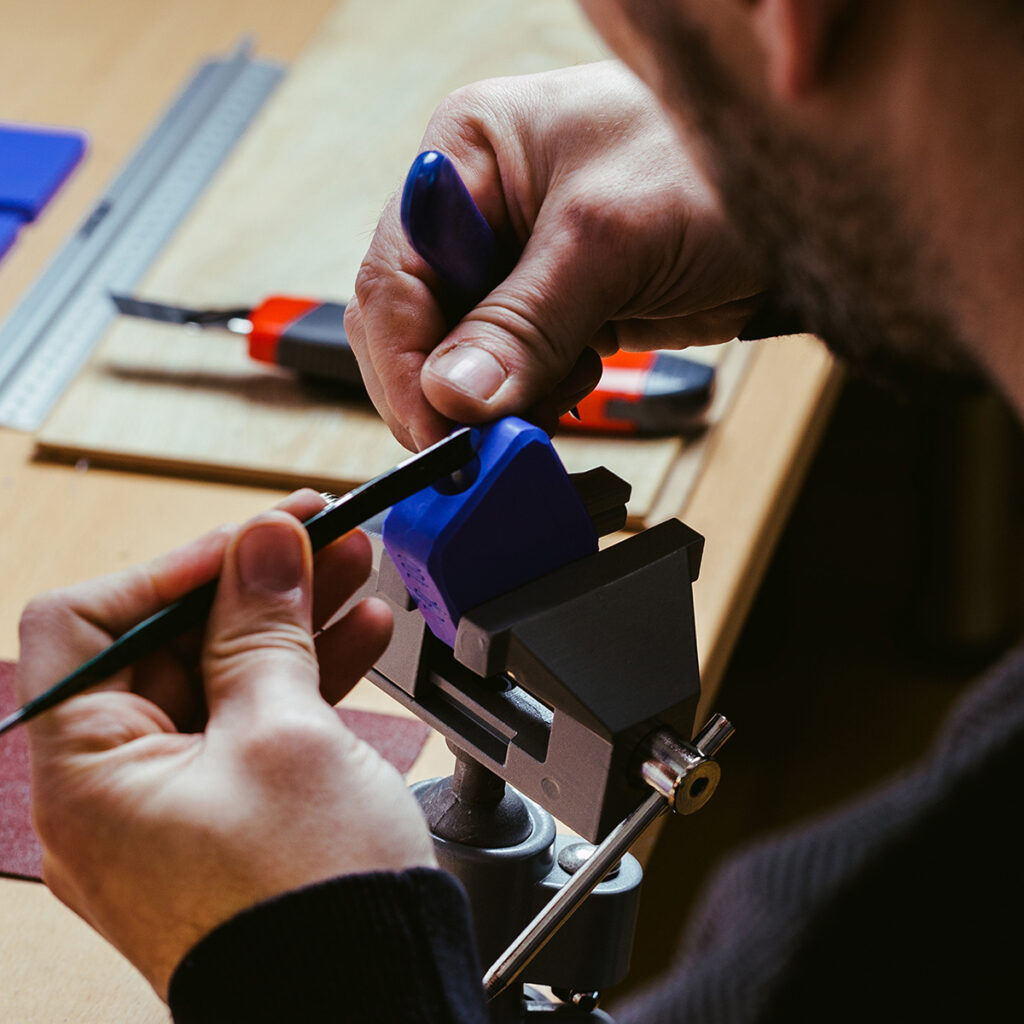
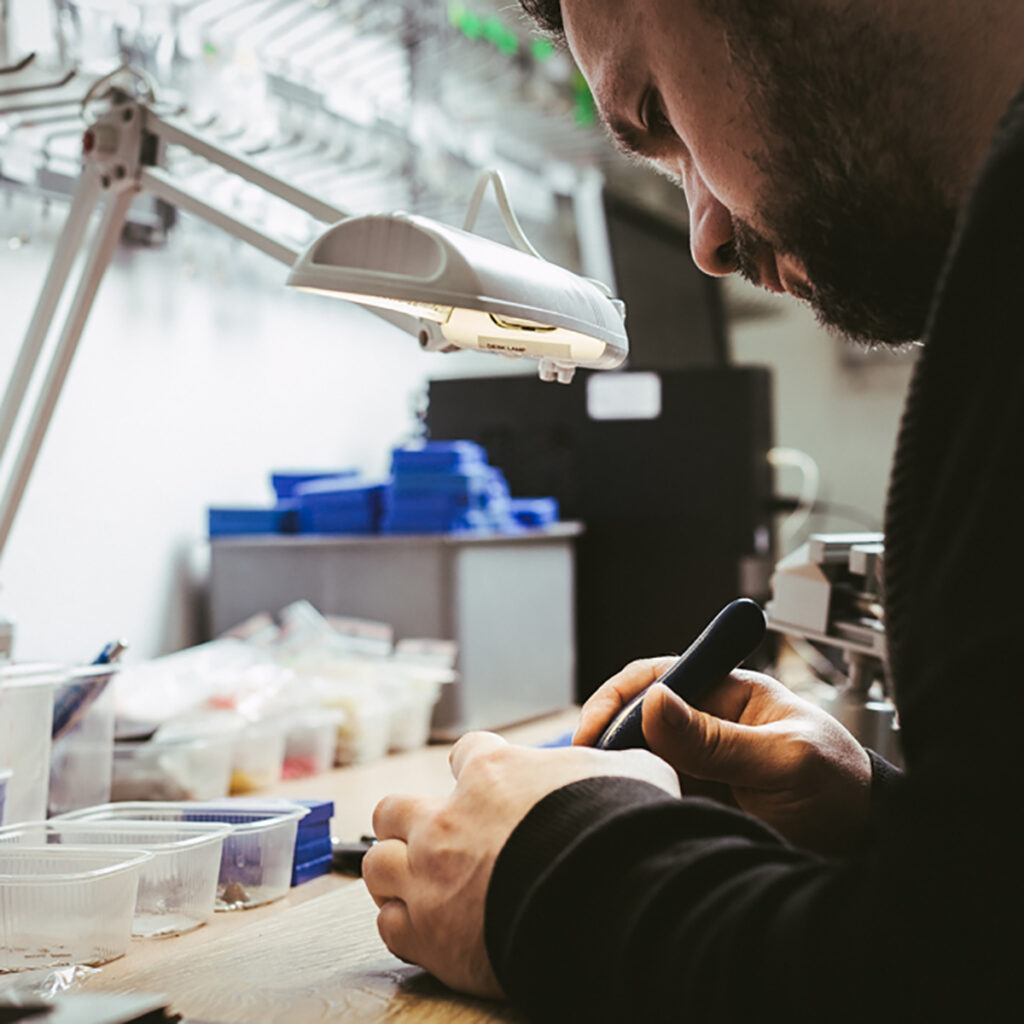
A stable bench is the foundation of precise work. A bench pin lets you support parts for sawing and filing; a small jeweller’s vise (or bench clamp) keeps components steady so your hands are free.

Lighting

Use a lamp with an adjustable arm and high color-rendering (CRI). Good light reveals scratches, pits, and uneven seams before they leave the studio.

Personal protective equipment (PPE)

  • Safety glasses: protect from sparks and filings.

  • Respirator/dust mask: for sanding, polishing, and flux fumes.

  • Gloves (selectively): for handling sharp edges or chemicals; avoid when precision or rotating tools are involved.

Organization

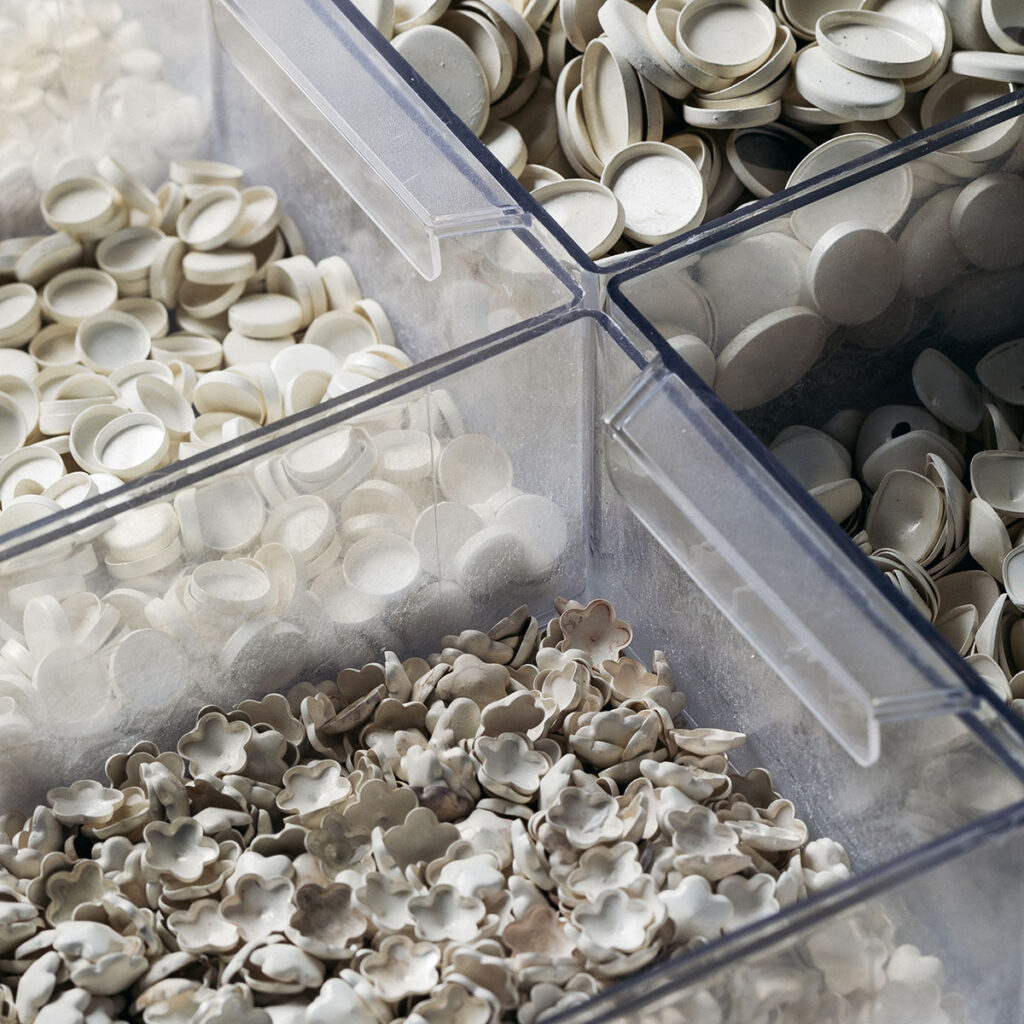
  • Small bins and dividers for beads, gemstones, clasps, jump rings, and other jewellery findings.

  • Labeled bags or magnetic trays for scrap—silver and gold offcuts can be remelted or sold.

Key takeaway: A tidy, well-lit, secure bench is step one to consistent quality and faster, safer work.

Module 2: Cutting & Forming Tools

Jeweller’s saw (saw frame with blades)

Ultra-fine blades let you cut complex shapes. Use a smooth, vertical up-and-down motion with minimal pressure—let the blade do the work to avoid breakage.

Files

Flat, half-round, round, triangle: each shape refines different profiles. Steel files are great for starters; diamond files last longer and cut hard alloys cleanly.

Hammers & anvils

  • Planishing hammer (flat + slightly domed faces) for smoothing and shaping.

  • Bench block or mini anvil for forming on a solid surface.

Pliers set

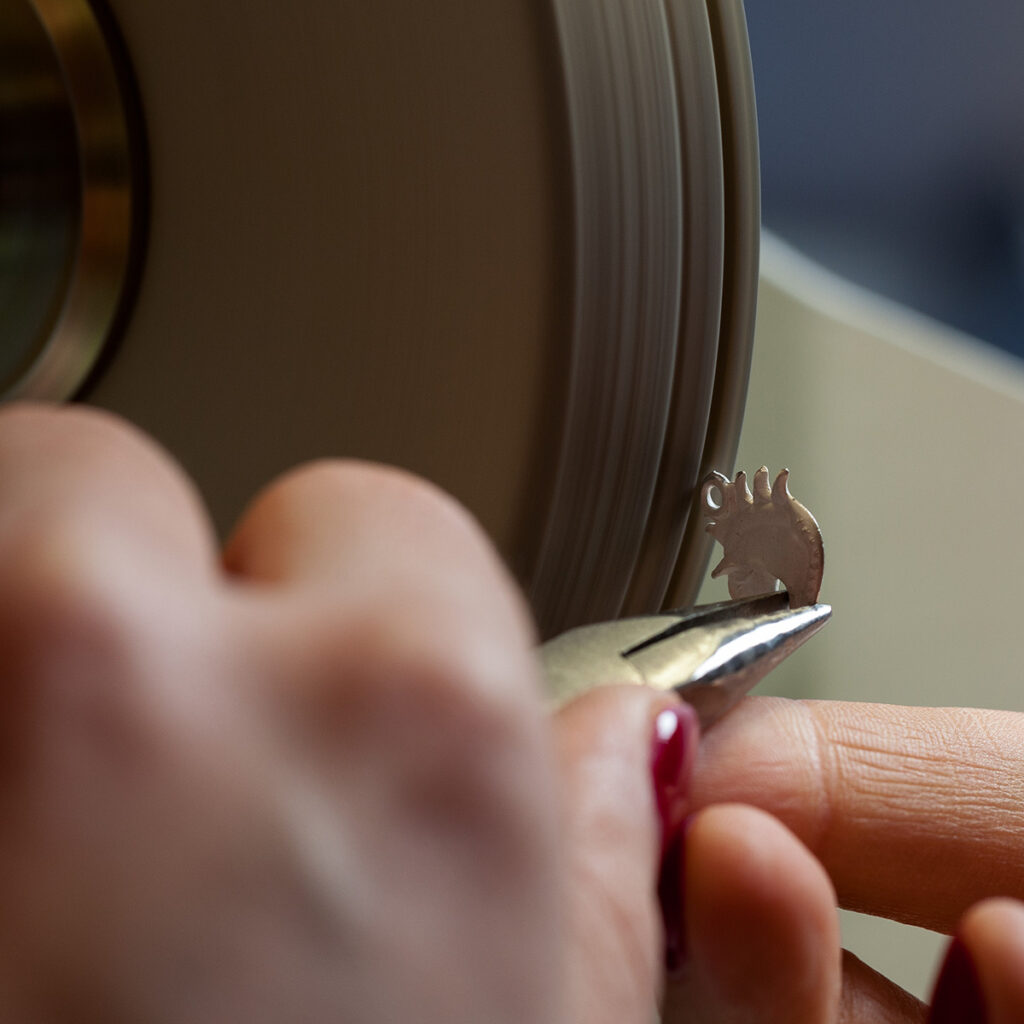
Chain-nose, round-nose, flat-nose, and flush cutters cover most tasks: bending wire, opening/closing jump rings, and clean cutting.

Key takeaway: Mastering a saw, a basic file set, a planishing hammer, and three core pliers gets you 80% of beginner metalwork.

Module 3: Soldering & Joining

Torch options

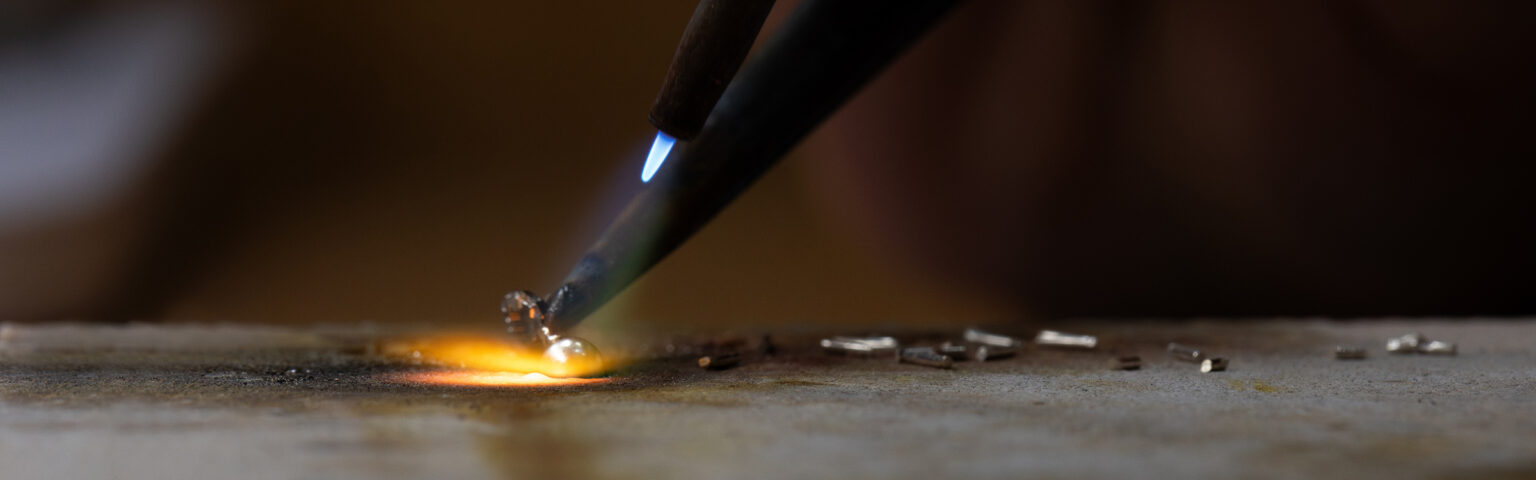
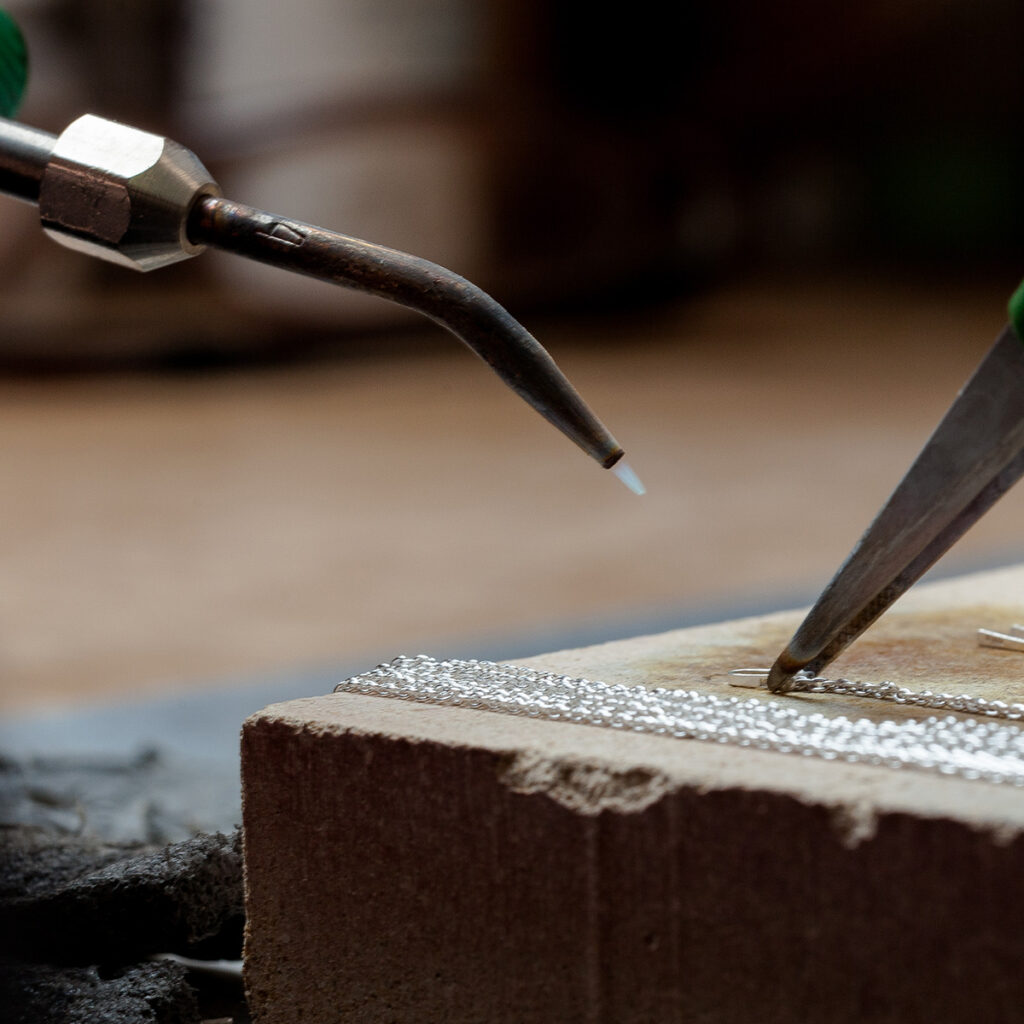
  • Butane (kitchen-style): ideal for small findings and quick fixes.

  • Oxygen/fuel (e.g., propane-oxygen): for heavier sections and reliable heat control.

Solder & flux

Match solder to your metal (silver or gold) and choose the right flow temperature (easy/medium/hard) for multi-stage assemblies. Flux helps solder flow and reduces oxidation.

Fire-safe surfaces

Ceramic tiles, charcoal blocks, or magnesia boards insulate your bench and reflect heat for even soldering.

Tweezers & third-hand tools

Heat-resistant tweezers and a spring-arm “third hand” stabilize tiny parts and free your dominant hand.

Key takeaway: Clean joints, correct solder grade, proper heat, and stable fixturing = strong, neat, repeatable seams.

Module 4: Sanding, Polishing & Finishing

Abrasives

Work through grits methodically (e.g., 220 → 400 → 800 → 1200 → 2000). Each step removes the scratches from the previous one.

Finishing files & rifflers

Knock down high spots and refine edges before switching to papers—avoid gouging by using light, controlled strokes.

Rotary tools

A flex shaft or mini rotary tool speeds up refining: rubber wheels, bristle brushes, and felt buffs let you choose satin, semi-gloss, or mirror finishes.

Polishing compounds & cleaning

Use appropriate compounds (coarse → fine). Remove all residues—ultrasonic cleaner or careful hand-cleaning—so the surface doesn’t haze over time.

Key takeaway: The magic is in the sequence. Consistent grit progression and thorough cleanup produce that crisp, professional shine.

Training Summary (Checklist)

  • Bench setup: stable bench pin, small vise/bench block, high-CRI lamp, PPE, labeled storage.

  • Cut & form: jeweler’s saw + blades, core file set, planishing hammer, bench block, essential pliers & flush cutters.

  • Join: suitable torch, silver/gold solders (easy/medium/hard), flux, fire-safe boards, heat-resistant tweezers/third hand.

  • Finish: grit progression papers, detail files, rotary accessories, polishing compounds, ultrasonic or thorough manual cleaning.

Final Notes for New Makers

Details matter—just like hallmarking standards, small process choices define perceived quality and longevity. As your skills grow, you can add specialty tools (stone-setting burs, rolling mill, drawplate, micro-torch tips, tumbler) to expand your capabilities. Many jewellery makers apart of creating products themselves, they use some ready items to make it easier and faster such as jump rings, jewellery clasps, chains and many more available at 925CRAFT online shop.

Good luck at the bench! Start with a compact, well-chosen kit, focus on safety and finish quality, and let every piece be a calling card for your brand.


Stay up to date


Do you have any questions? Leave them in the comments below and we’ll be happy to help!